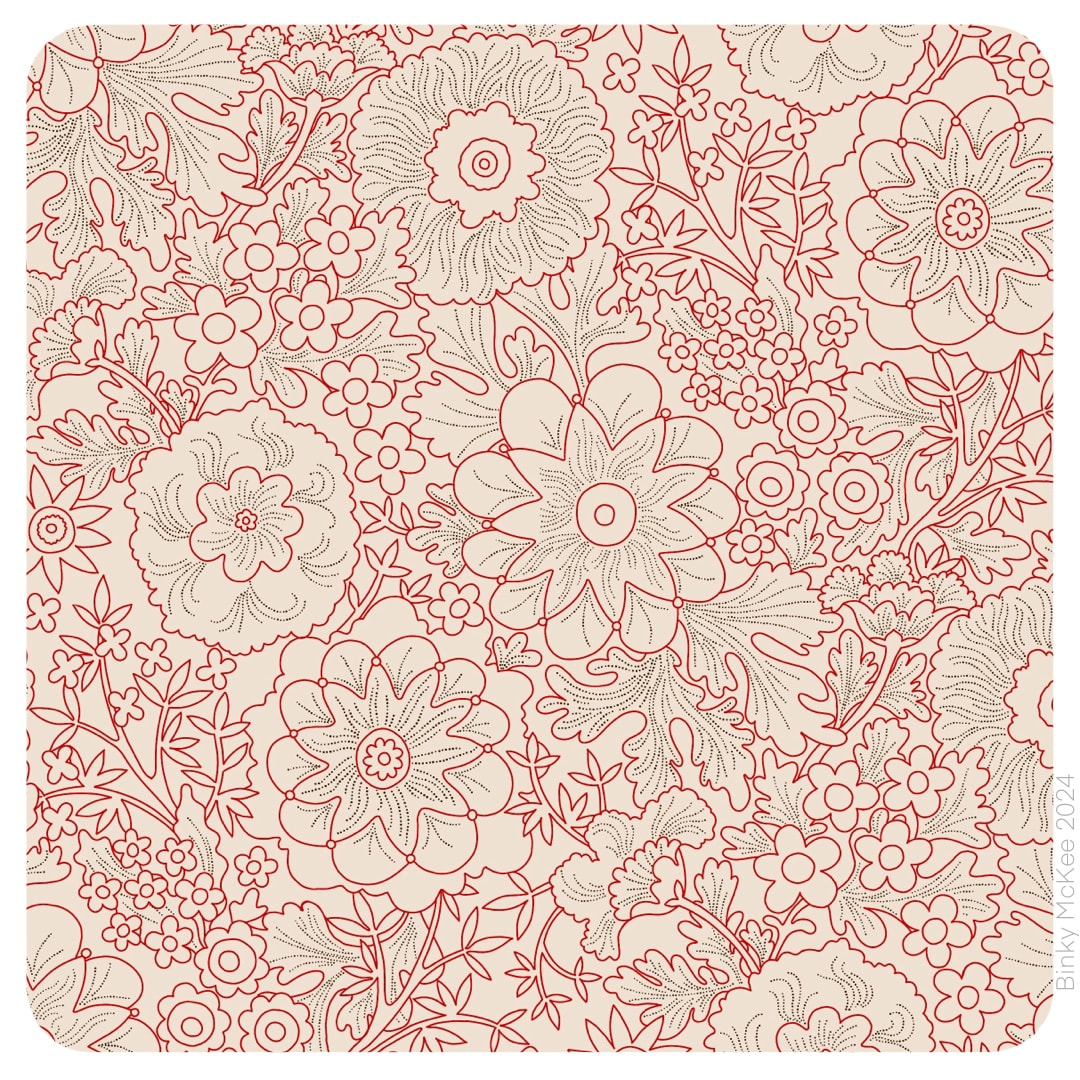
 Finally, a half-drop version of Yay! Flowers ! Years on from its very beginning, I finished the outline drawing for colour-drop with any palette this week. I put the trail of links in last week's post, which can be followed right back to experiments with a watercolour sketch in March 2019. 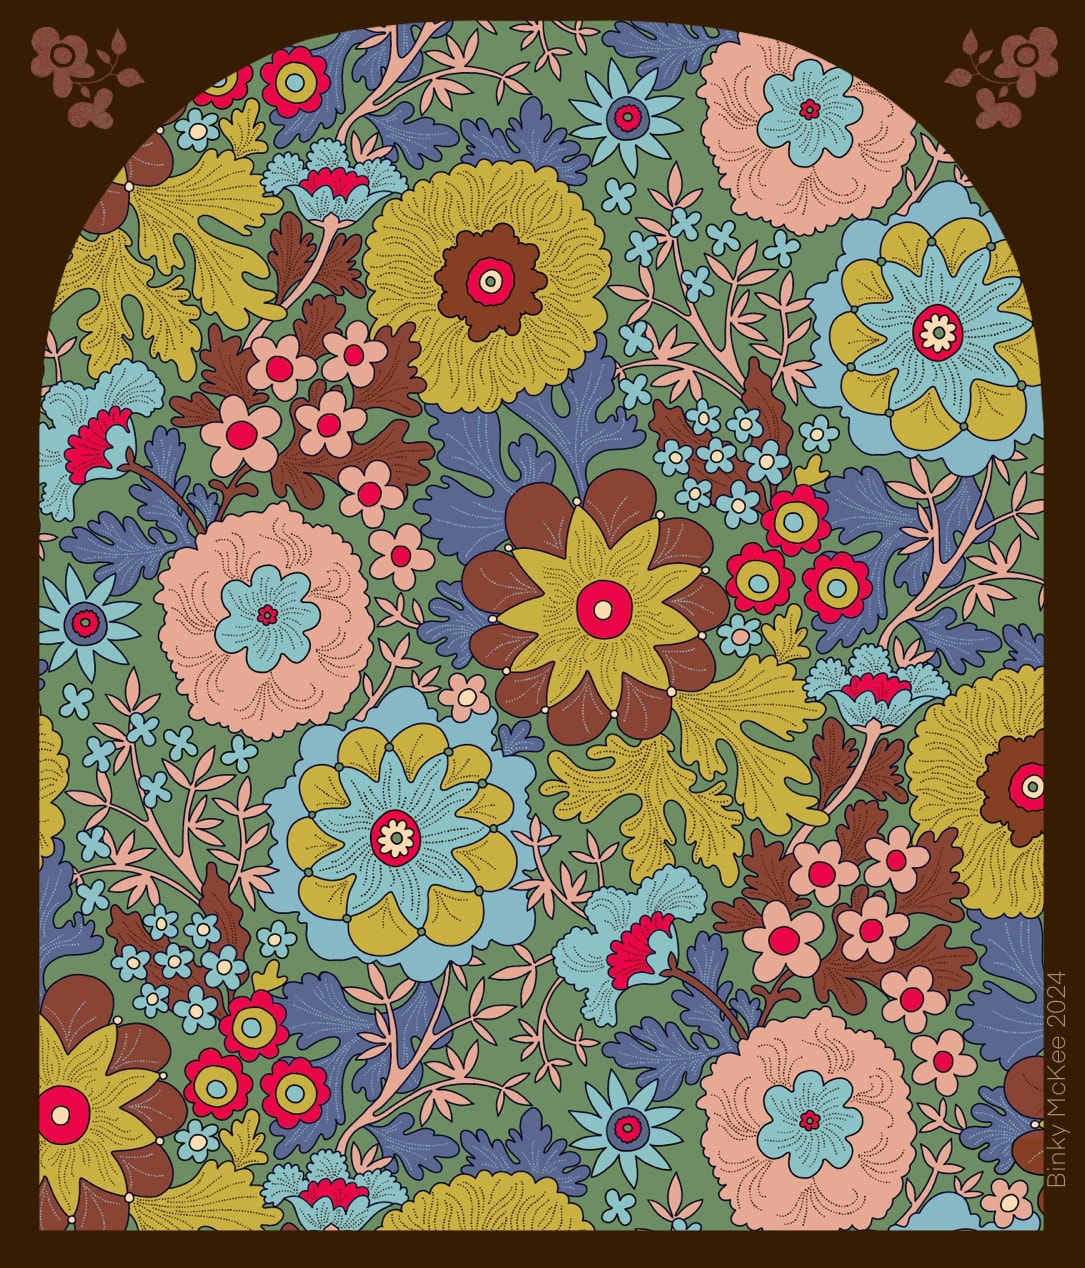 Here's a version I made for testing the pattern, filled with the glorious technicolour of my 'Naturals' palette, spiced up with a vivid red (and, yes, I'm still very much into the arch presentation!)
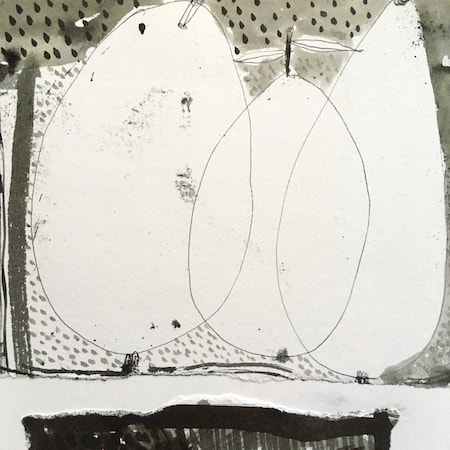
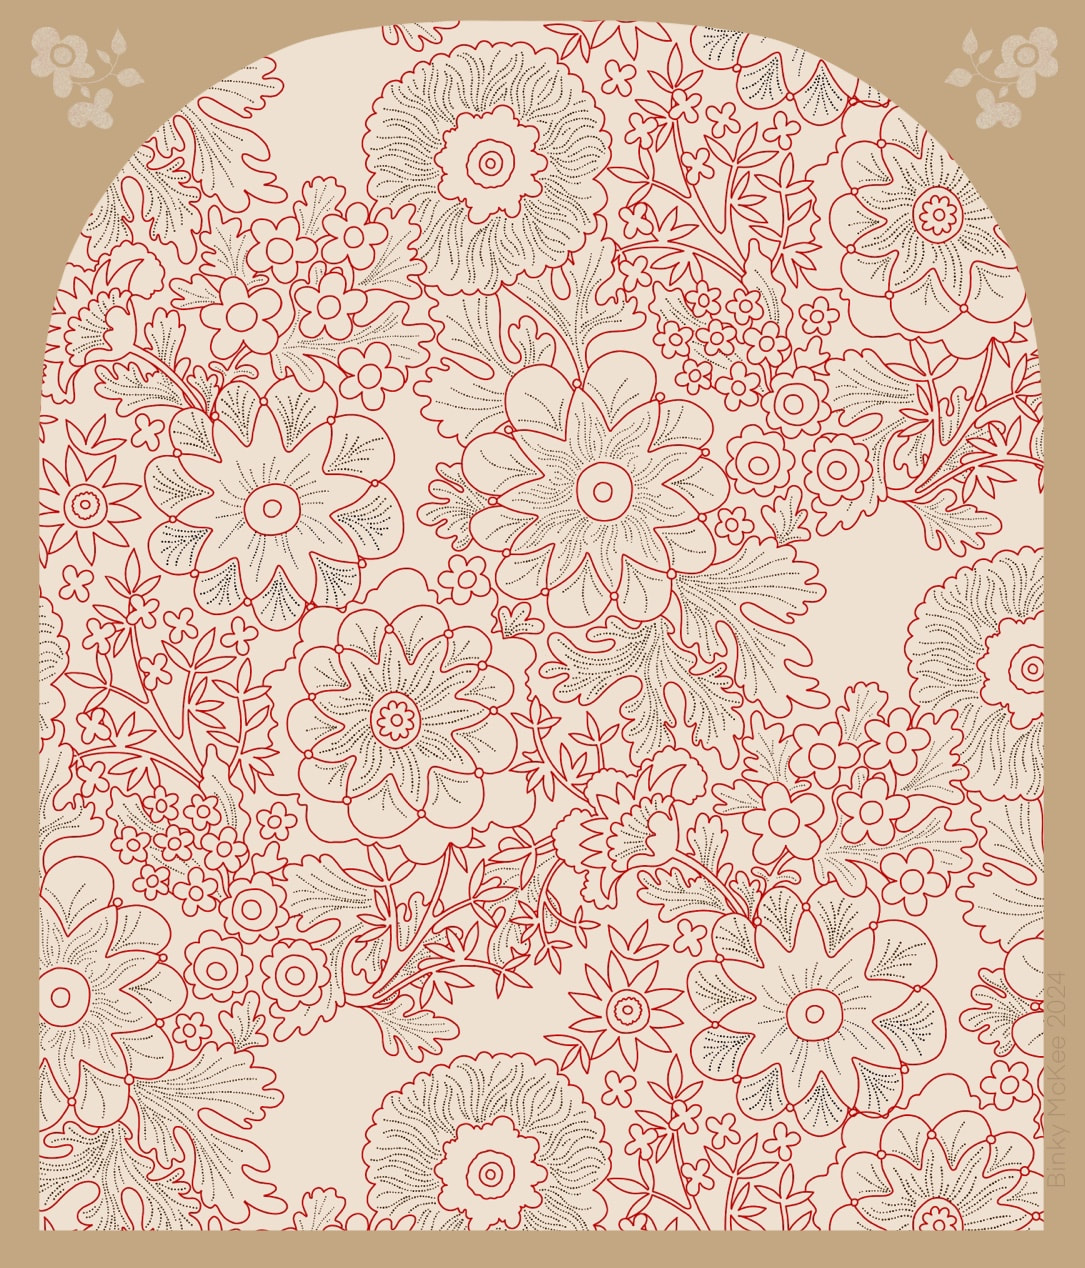 WIP half-drop version begun this week This pattern goes back quite some way, this link will take you to the previous 2021 version where you can follow links right back to its very beginning. It is a favourite of mine, so I'm happy to invest time on it. In 2021 I made the clean version (below) but it didn't occur to me to keep an outline version to make new colourways. It was early days in 'clean' work for reproduction, and I thought I could just keep colour-dropping over previous colours, but I soon discovered the outlines get degraded that way; so the only way I could change the colours was by using curves or HSB adjustments. Both methods are fine, but limited in tonal values by the original. 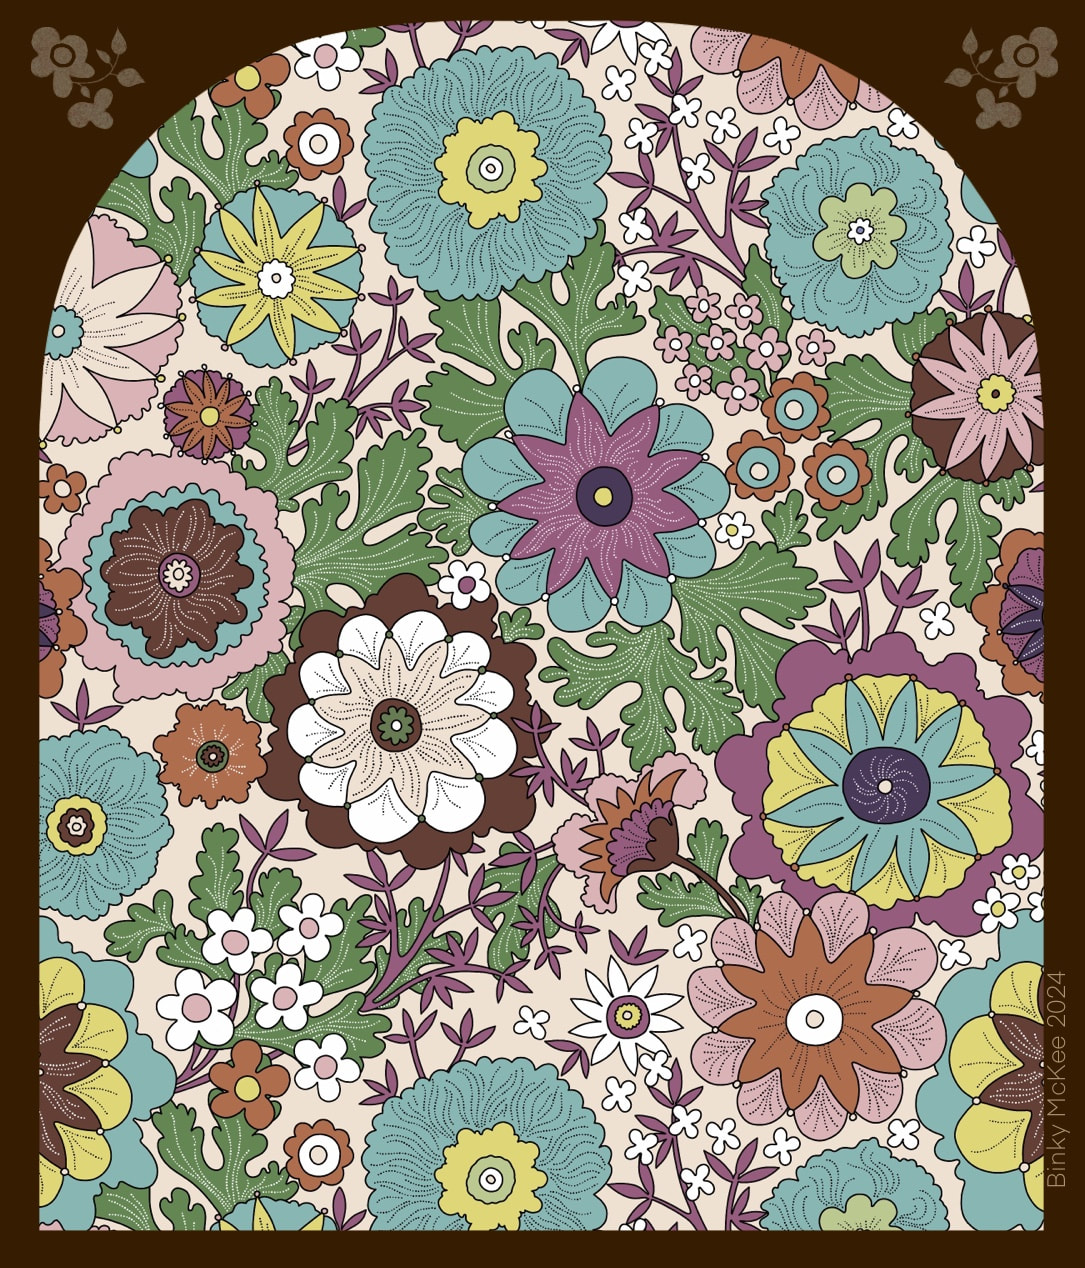 2021 version Finally, I remembered this was something I wanted to do, and it was the perfect thing for the January lull before the end of the holidays. Also, the previous pattern was a block repeat and I had always wanted to make a half-drop from it; so, at the same time as redrawing the original outlines I began work on that too. 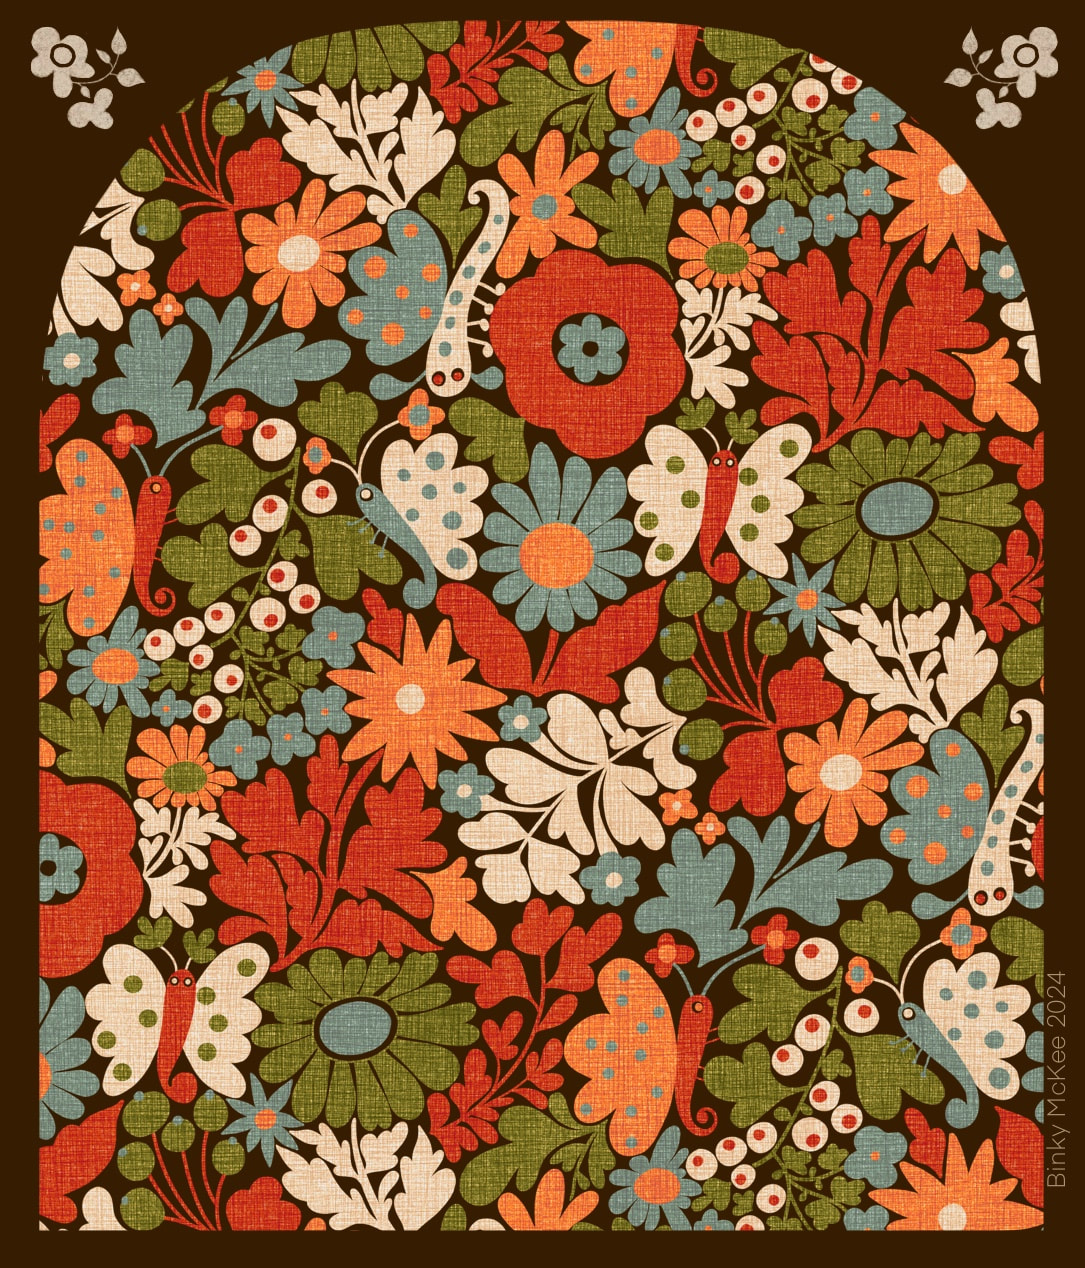 River Moth Tonight - I know, it doesn't have very much to do with rivers at all! I also made an arch-shaped clipping mask for blogs and Instagram posts to make patterns look more interesting (otherwise the feed just looks like a pattern-book) which I liked so much I have probably over-used it here, but above is my 'River Moth Tonight' pattern (still haven't thought of a better name) looking very bonny in its archway!
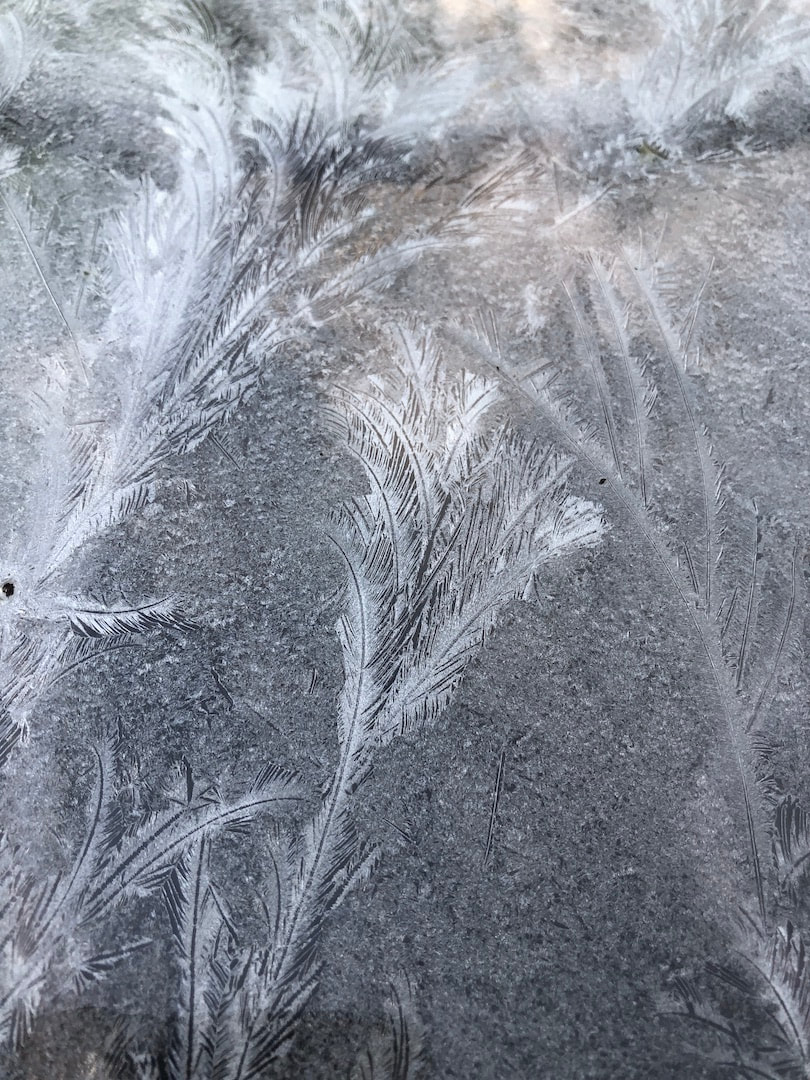 Ok, I cheated a bit here - this photo was actually taken on January 6th, when the seasonal cold came in. I just didn't have a nice photo to greet the new year at the time, but this beauty developed on a glass tabletop overnight - so soft and feathery in appearance. So ...
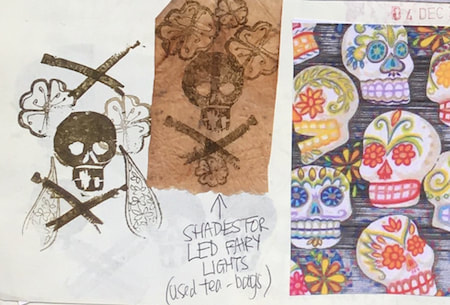
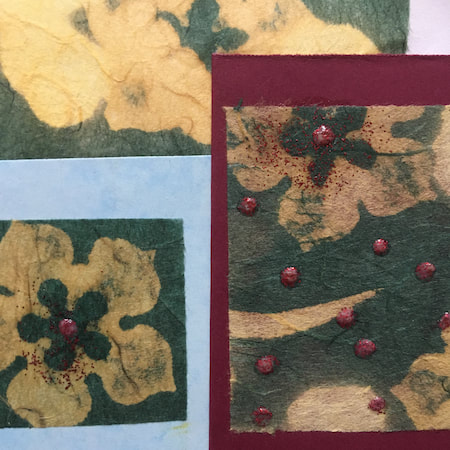
<<<<<< A VERY HAPPY 2024 TO ALL! >>>>>> 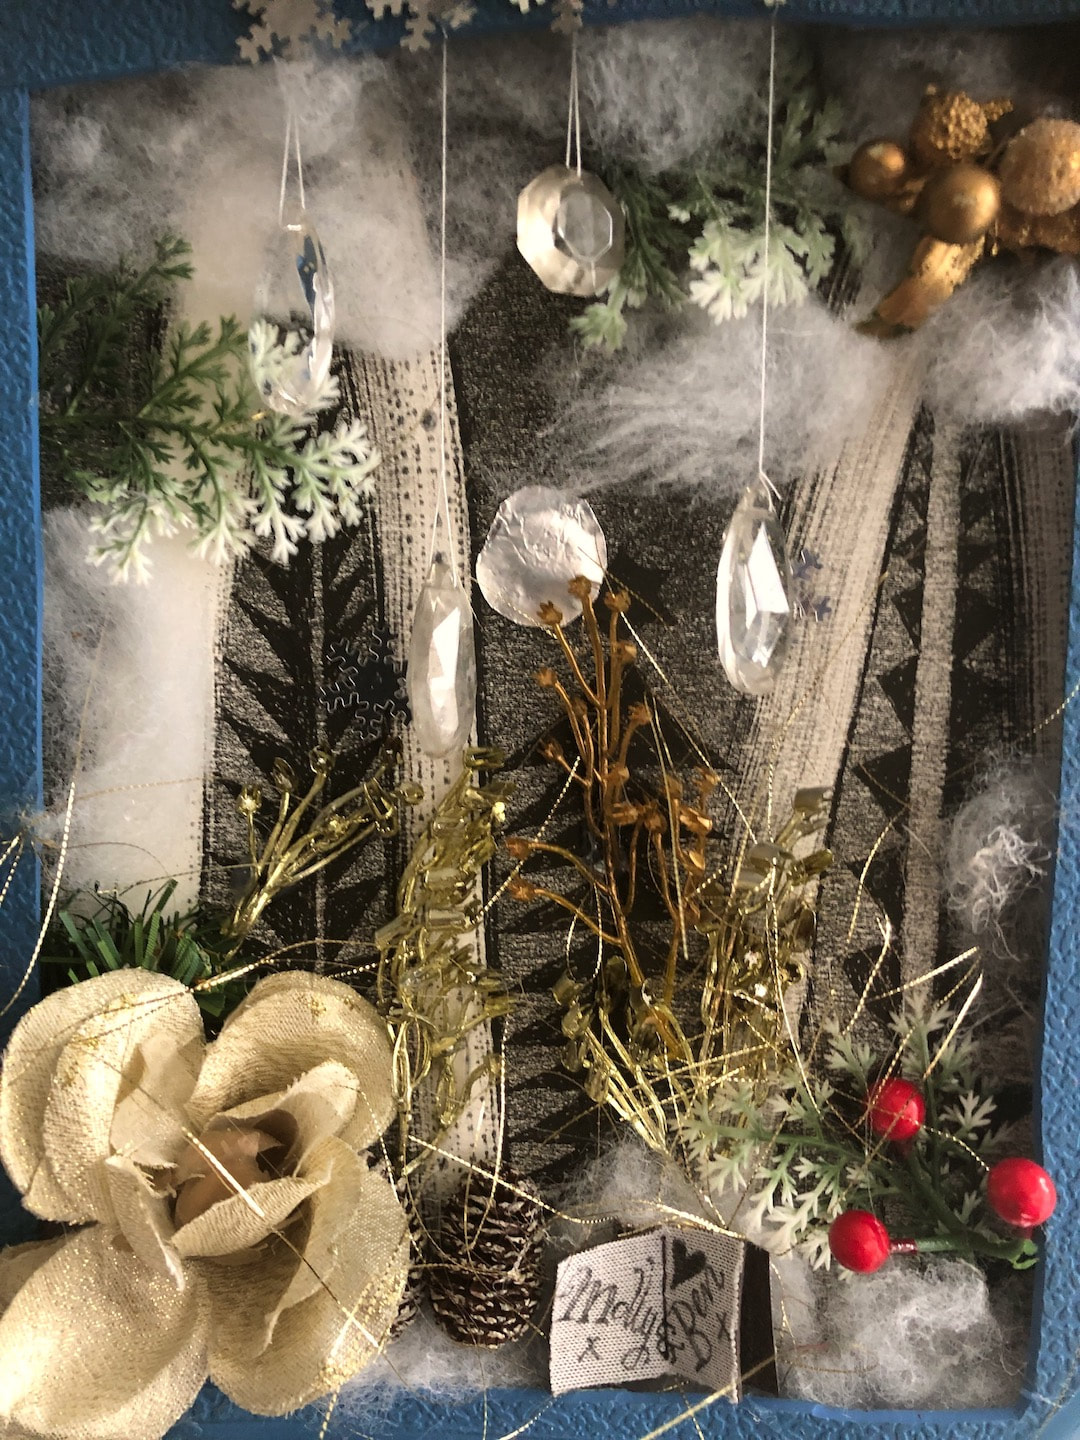 I kicked off my Christmas crafting this year with this 'card' for Molly and Ben. We had all agreed no presents this year, but to hand-make cards instead. I had absolutely no idea what I was going to do as a special card for them until B turned up with a broken hot water bottle. The stopper had failed, unsurprisingly as the bottle is really quite old now. He was about to throw it in the bin when I stopped him and cut out the textured section for printmaking - then the idea came to me to make it into a sort of picture frame. 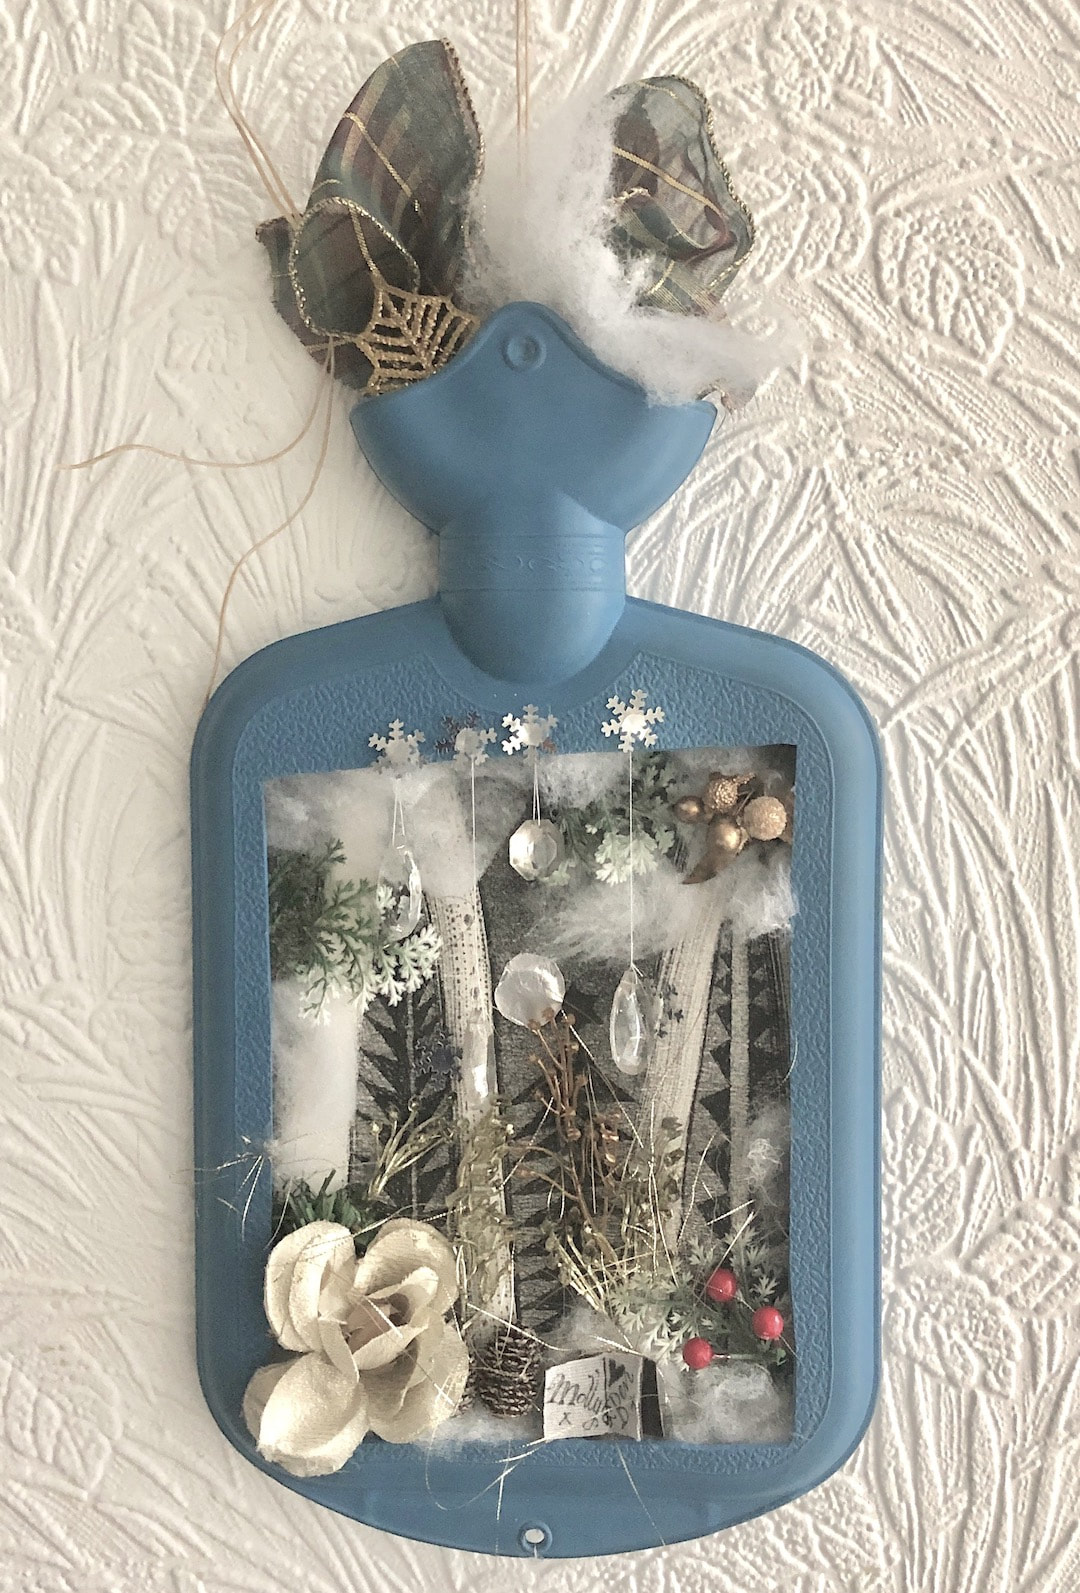 Much fun with a hot glue gun later, here is Molly and Ben's Christmas card! I have written about the one I made for our Mr. T with a description of the materials used on my Heather Eliza blog, more or less the same as used here, except for the addition of a butchered Christmas decoration on this one.
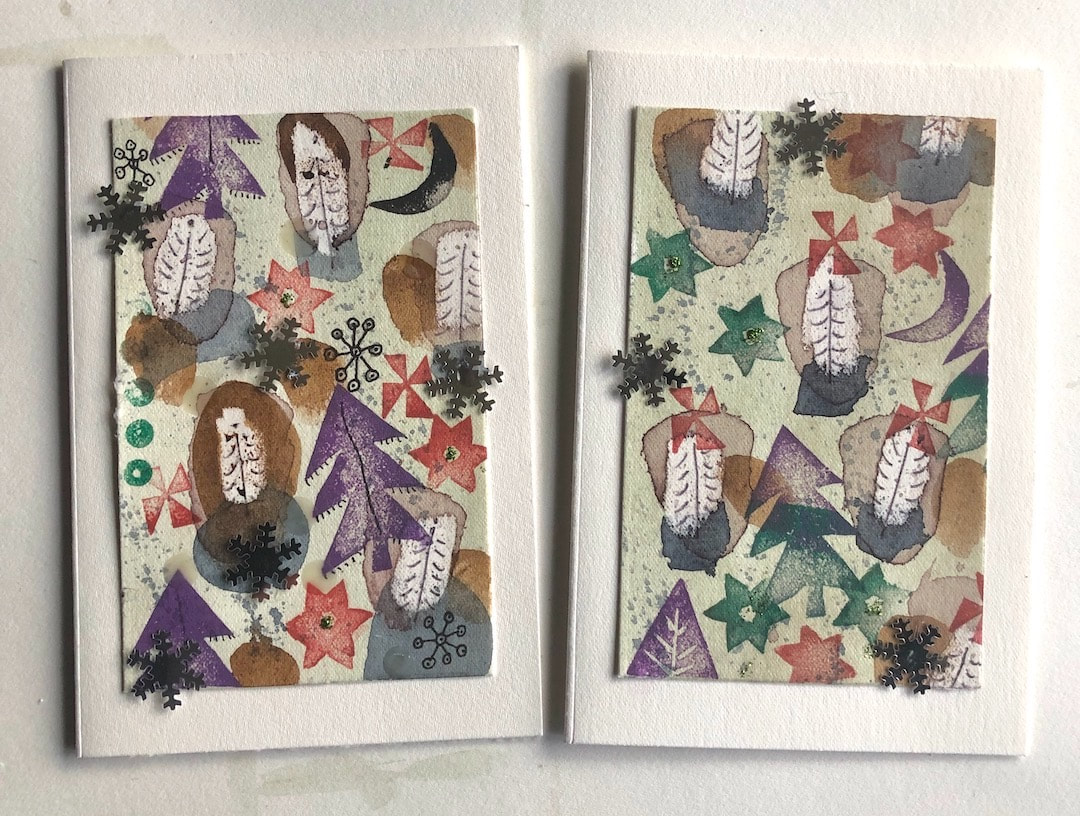 These two cards are a little different from the rest of the Christmas cards I made this year, I was just trying out everything and experimenting, but B really liked them! I thought they were a bit too chaotic and the hot glue gun got too messy to glue the foil snowflakes in large numbers, but I trimmed these two up and mounted them for our cards to give to each other on Christmas day. They are rather fun!
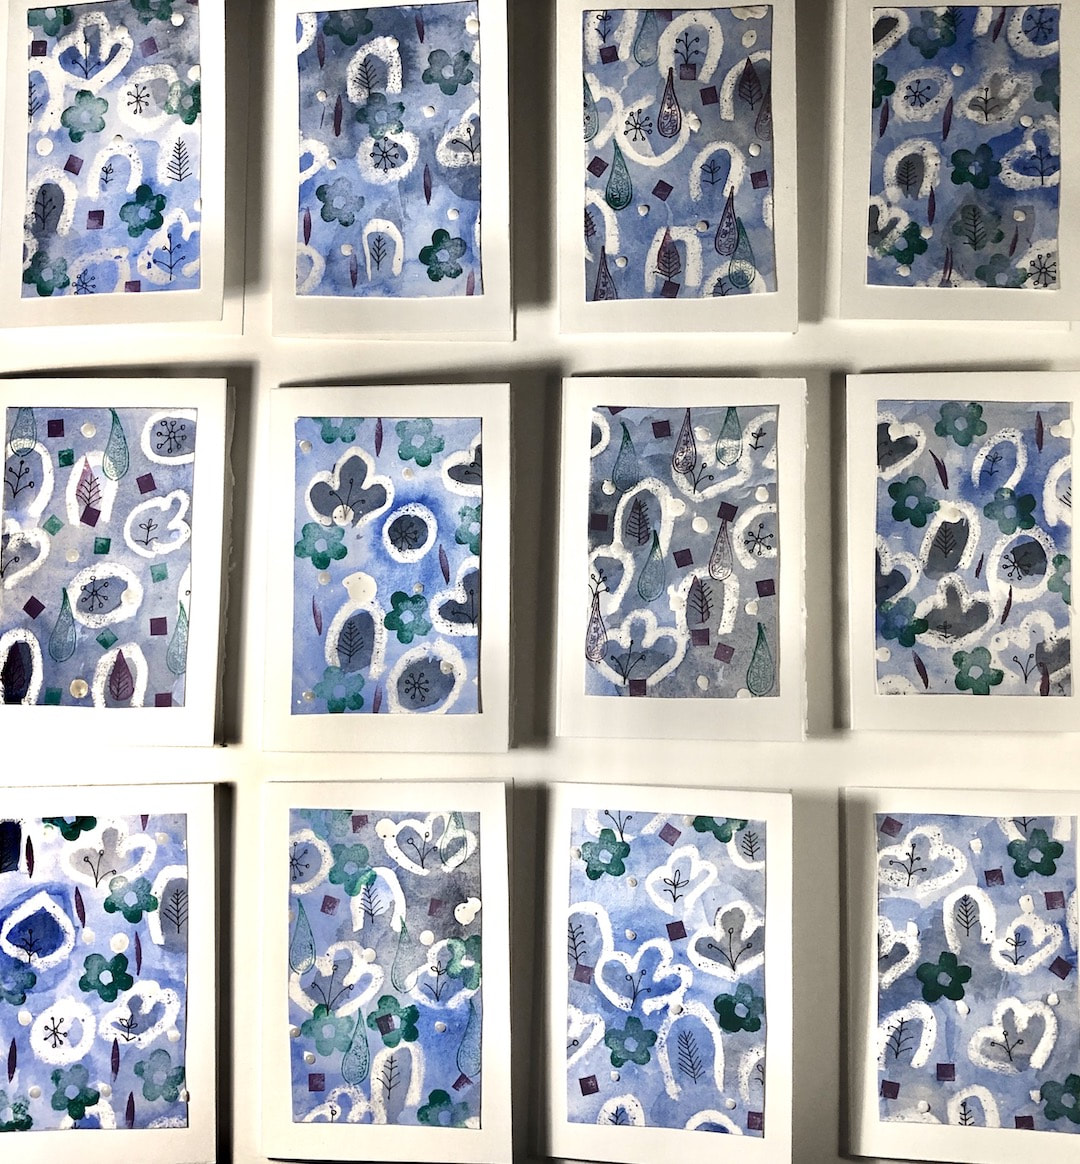 I started making birthday cards back in early July, but only got one done - so now all the December and January birthdays are coming up fast, I had to get on with serious card-making. Luckily I had cut and folded all the card backings, so just the images to make up and mount to do now. 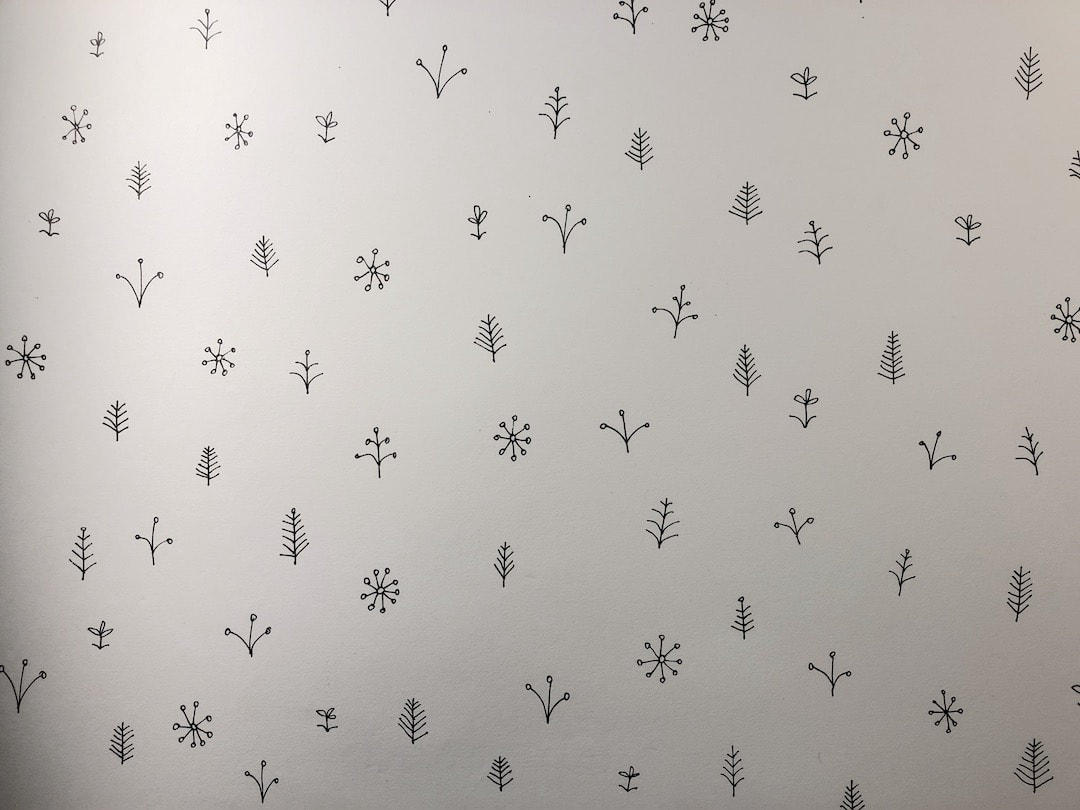 I started out without the faintest idea of what I was going to do, but after a few experiments and fails this is how they started: a sheet of sprigs. Some wax resist drawn onto them with a candle stump, watercolour and a selection of rubber stamps later and hey presto - enough cards to last until next summer. 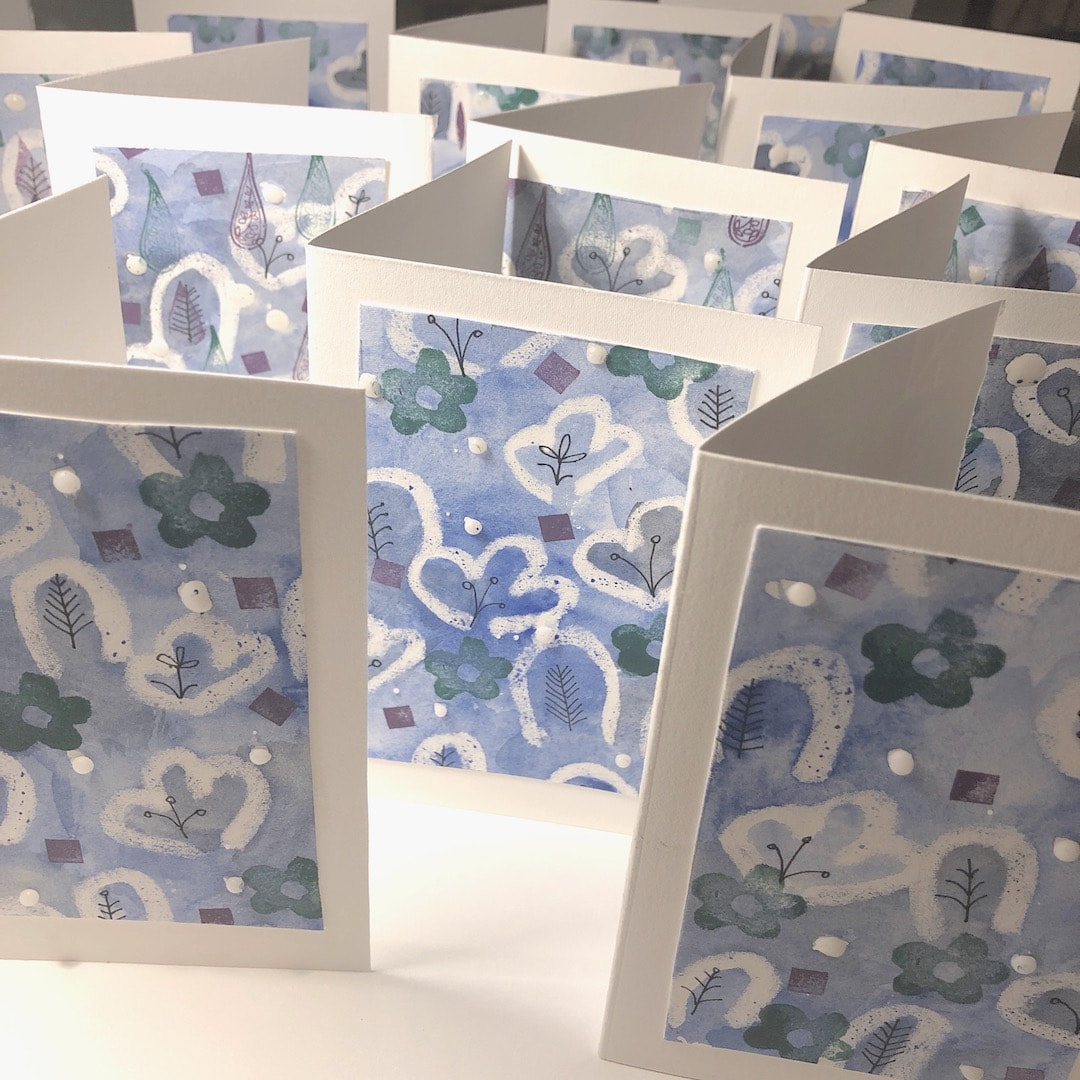 Of course, there are families and couples and I don't want to send the same card out to these folks, so there are companion cards in a different style which I made up at the same time - see those on my Heather Eliza blog.
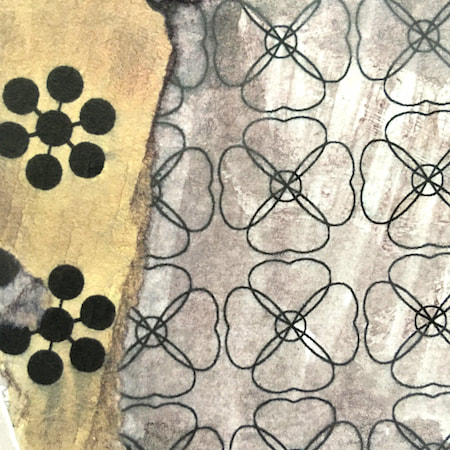
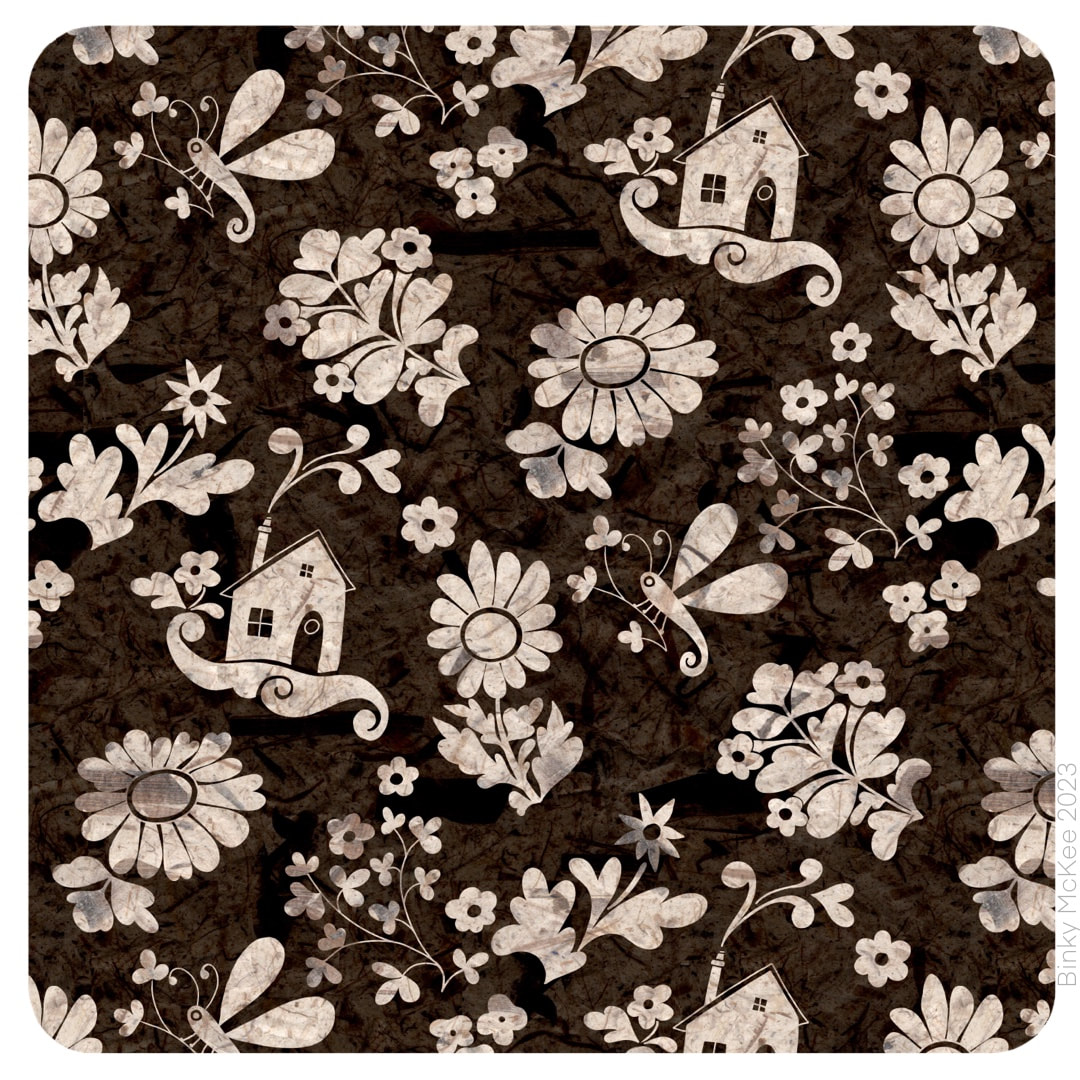 Still on the papery mono theme, I separated out some of the main motifs from the 'rivermoth' pattern (last week's post), tweaked them to suit, and designed a couple of extra motifs to accompany them to create two new patterns. I had noticed when I was working on the 5-colour version that each layer looked good when visibility on the other layers was toggled off; the space around each element was nice and I wanted to use it. I activated the spaces with surrounding elements, adding little houses with puffing smoke and some delicate sprigs in the brown version, and curly clouds and some new flowers in the blue one. 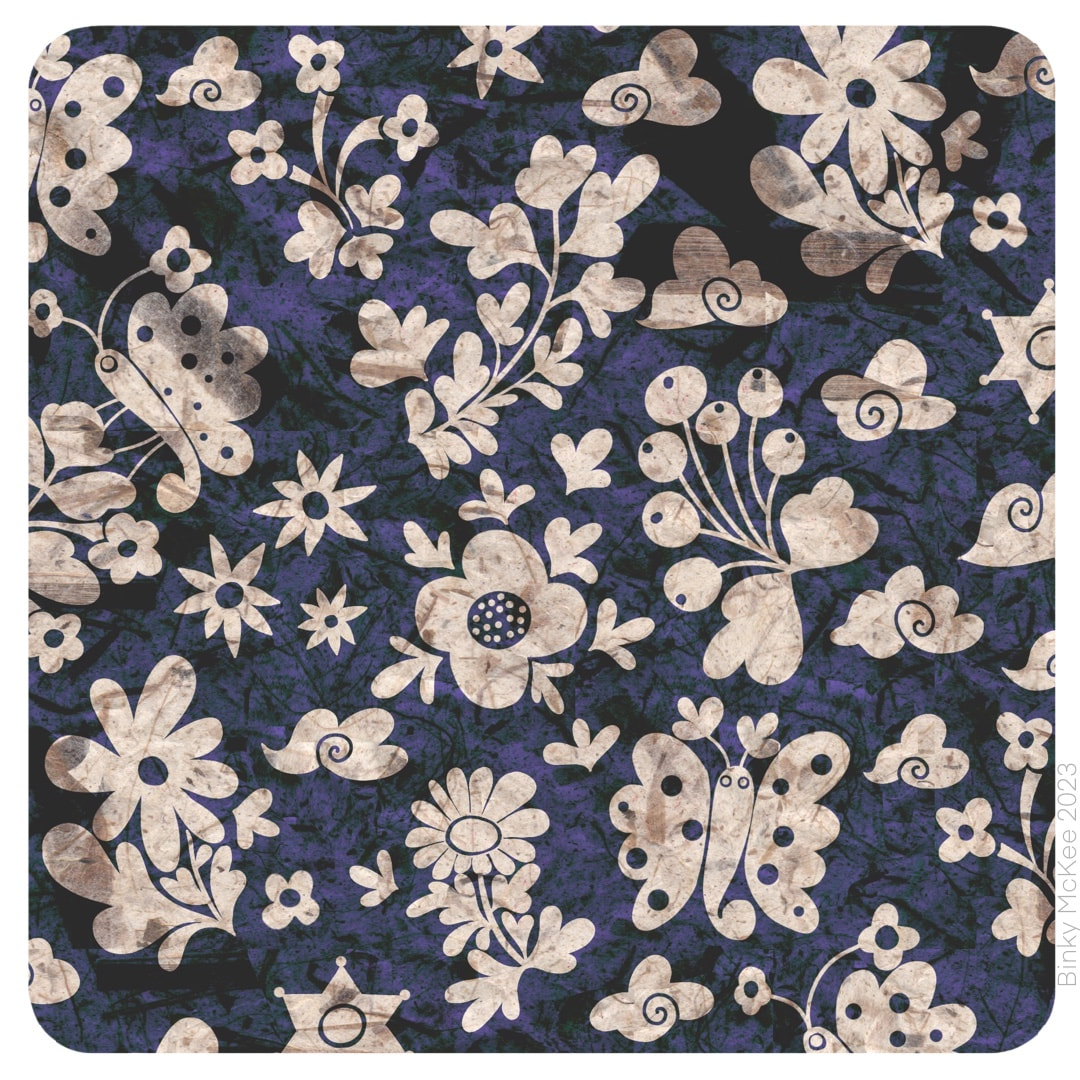 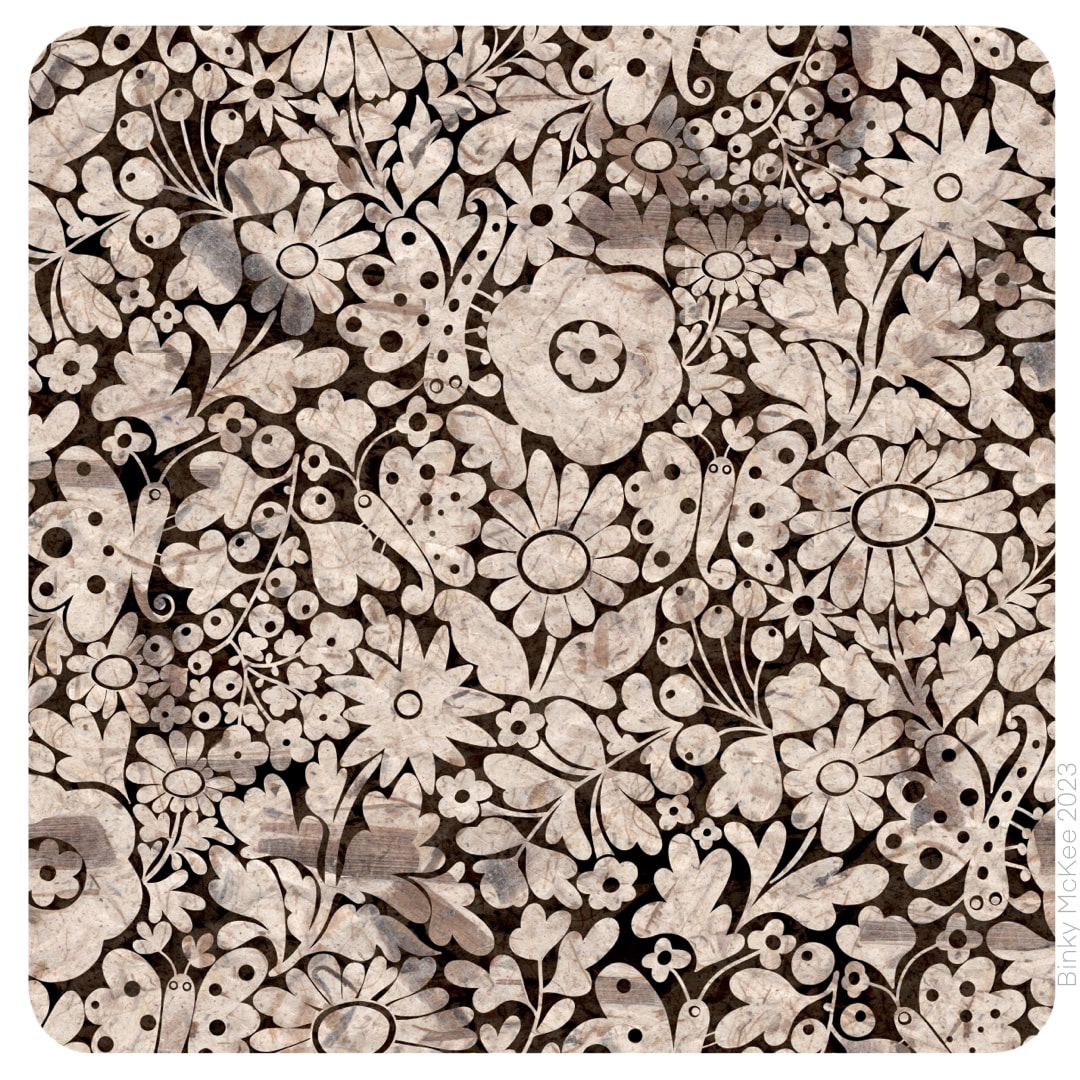 Mono versions of 'River Moth Tonight' (I haven't thought of a better way to name this pattern yet) designed for single colour. The top one has papery texture, the two are below speckled. It's always interesting to see how the graphic nature of a design works in single colours. 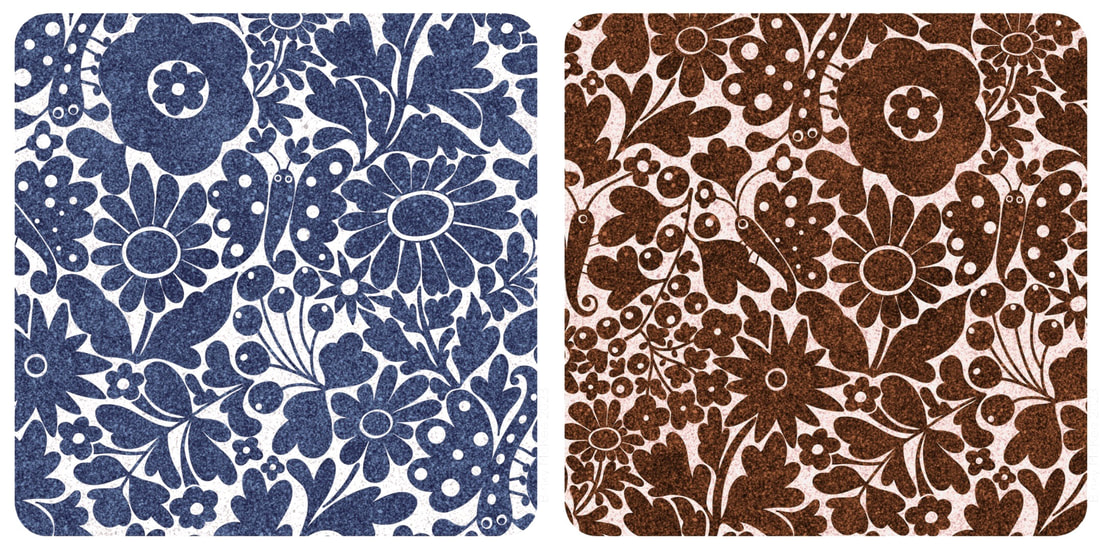 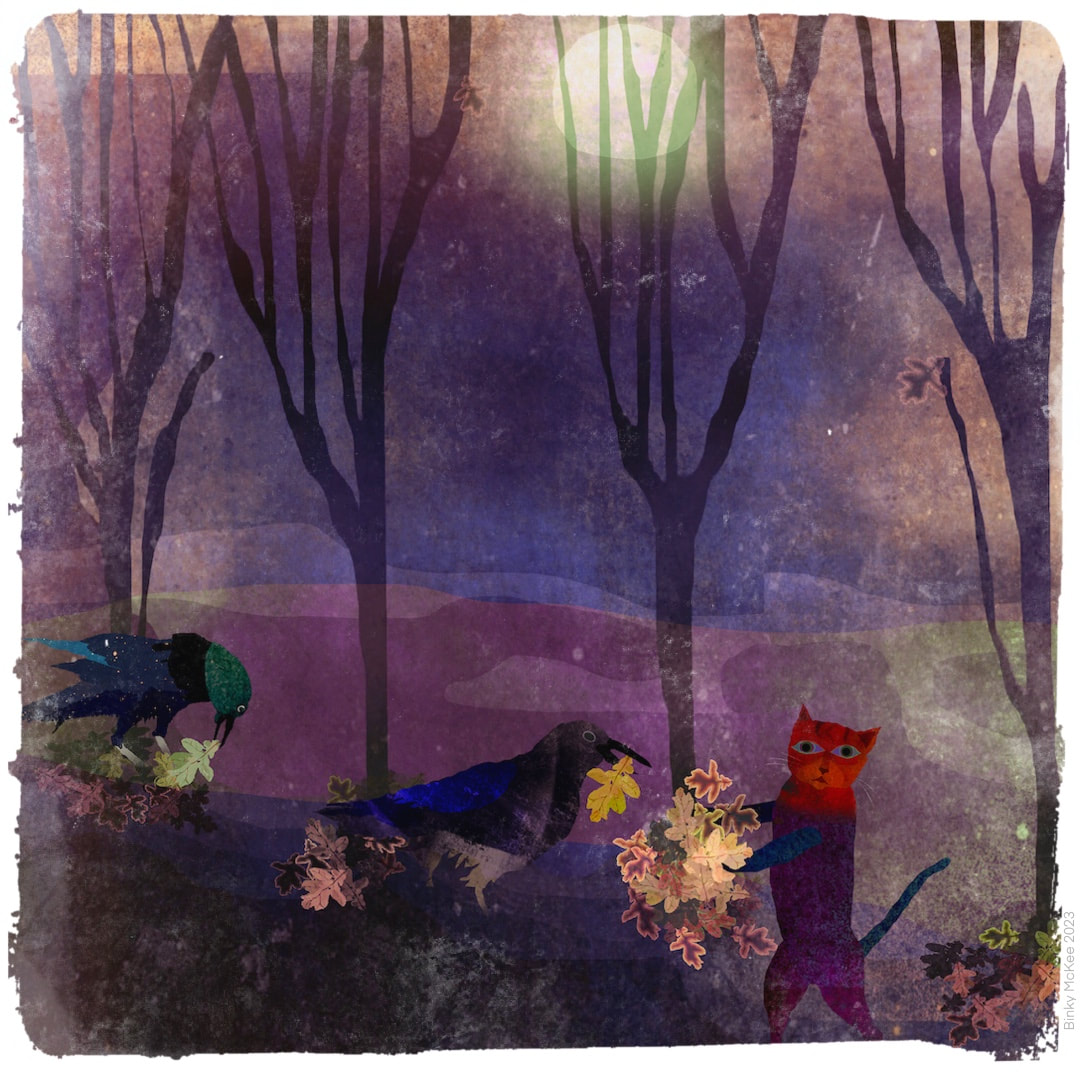 Cat and Crows Clearing Leaves, Procreate illustration 2019 It was time to clear away all the fallen leaves today in our neighbourhood annual 'leafathon', a sociable and fun tradition which dates back goodness knows how many years (we moved in as a young family in 1971). Even after 1984 when I lived outside of Scotland I would make it a date to come home and lend a hand before I moved back in 2006, and in fact B's daughter now does the same, travelling up from Englandshire to bag a few leaves when she can make the date. Eventually, B and I kept the house for our own following my parents' passing, so hardly a year has gone by when I have missed it - but this year I was unable to make it. I had some horrid bug (not covid, according to my nearly out-of-date home tests), felt ghastly, and judged it wise not to risk passing it on to some of the older residents. So I sadly stayed in the house and watched everyone having a great time from the window with a strong sense of FOMO. Ironically, the illustration above was made in 2019, just as Covid19 was sneaking into the country through the back door.
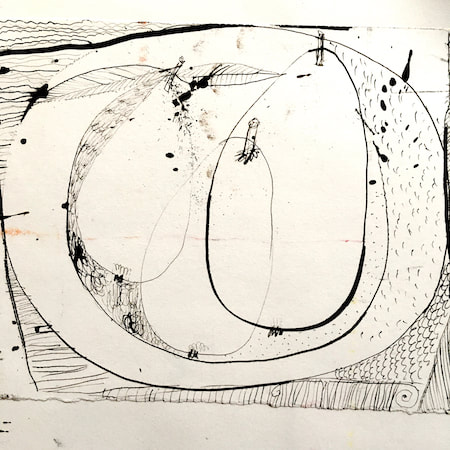
 I started making this night moth garden design on October 1, following along from ideas in Crazy Daisies with elements expanding into surrounding spaces until they are almost touching. I visited it on and off for about 3 weeks, during which time I swore I heard music on the radio a few times singing "this is the river-moth tonight" which I thought was lovely (it turned out to be "this is the rhythm of the night", just another of my hilarious misheard lyrics). The image of moths in gardens on a summer night was as stuck in my head as the song.  The pattern lay around on my iPad without any further experiments until this week, when I gave it the bark paper texture overlays I was using for my folksy patterns. Tonal variations from the bark fibres embedded in the paper give the colours a rich, velvety feel in this design.  It's unlikely I would print a something like this onto fabric as there is already enough texture in the material, but it could work well on smooth paper, so I always make my textures repeat just in case. Here is how the 'bigger picture' works. I manipulated inverted colours in this version, and now it looks like marble inlays.
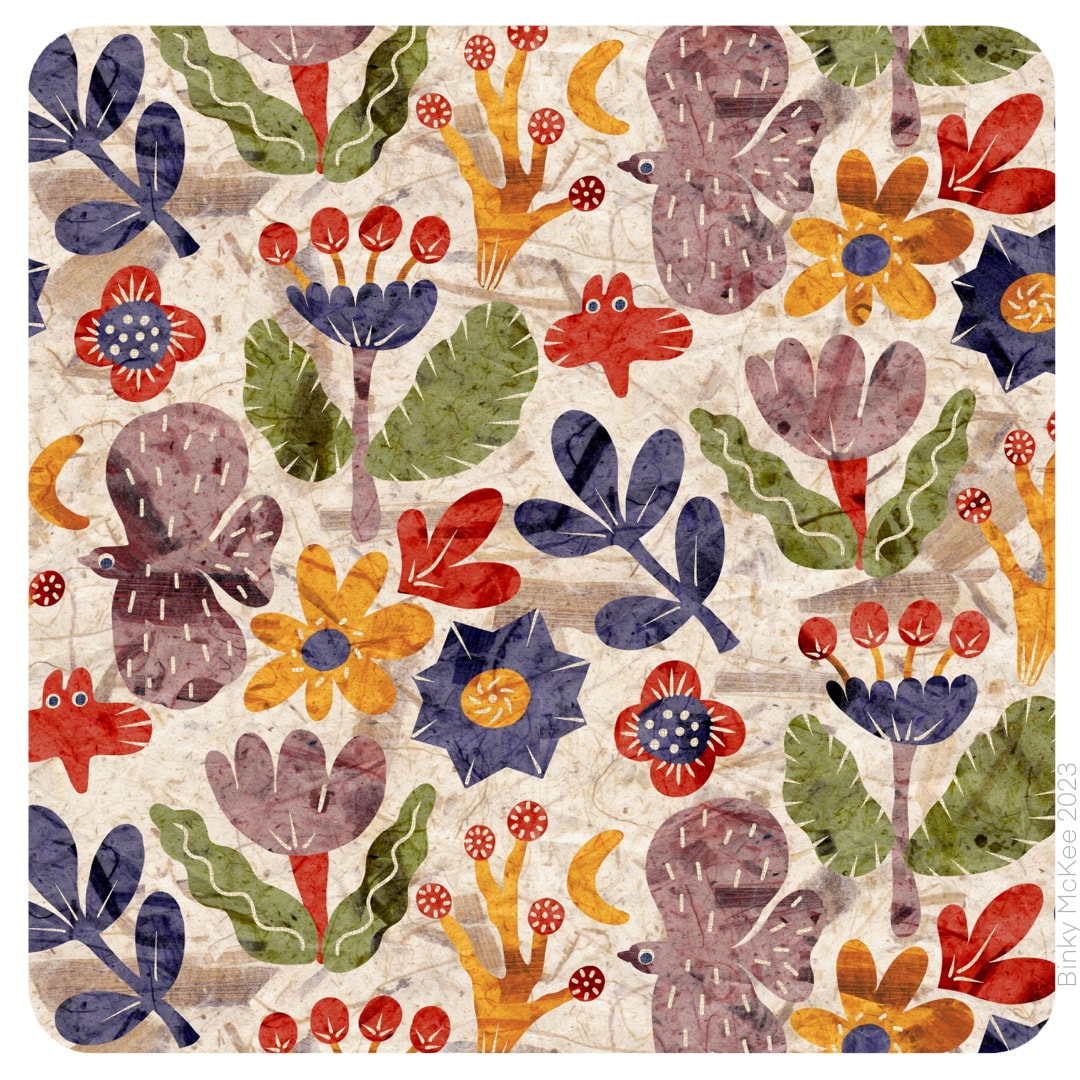 I've been experimenting with a bark paper texture, which brought this folksy pattern I made last year to life together with a slight adjustment to the colour separations. I converted it to make the Hallowe'en version in the previous post, also given the papery treatment - I like the scrap-book feel which has revived and refreshed the pattern.
I know it's bonfire night but I'm not feeling it this year, too much stress for dogs and other pets, so no fireworks pictures today. I have noticed much less activity on the Guy Fawkes front this year locally. I hate to sound preachy, being one who prefer a more laisser-faire approach, but loud explosions and waste of resources seem inappropriate and anachronistic on all levels of our present political climate, so best to let it lie for now I think; perhaps it's time for some quiet reflection and reframing how we interact with our world instead of celebrating huge fires and spectacular expensive rockets for the sake of a few minutes' entertainment. 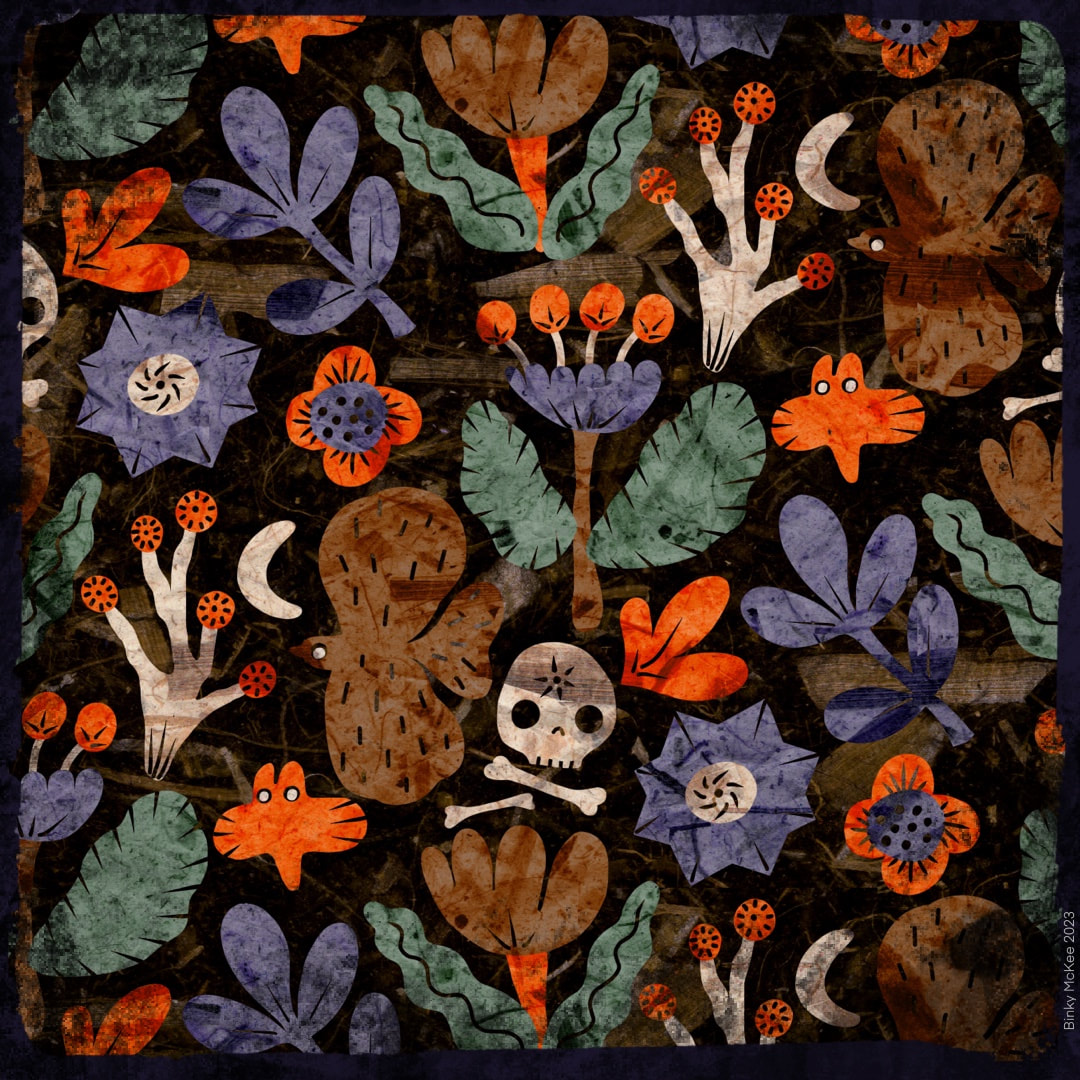 Pumpkin colours, the night, bats, skulls and bones, ghostly trees and the moon. That's Hallowe'en! 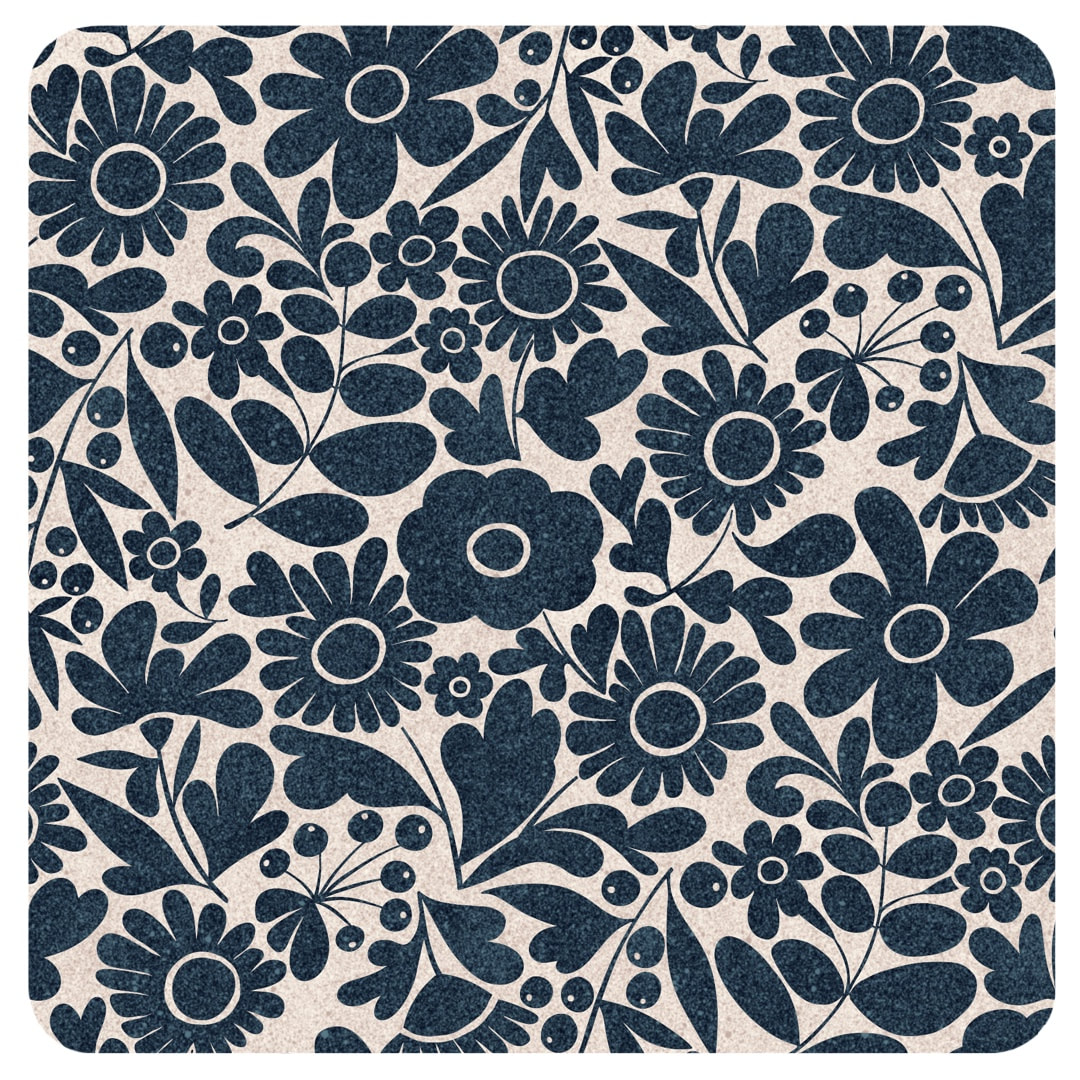 A redesign of my Crazy Daisies pattern for single colours. Shown here are versions in indigo on stone, and cream on chocolate which is based on a mono version of my vintage tie daisy pattern which I made in 2021. 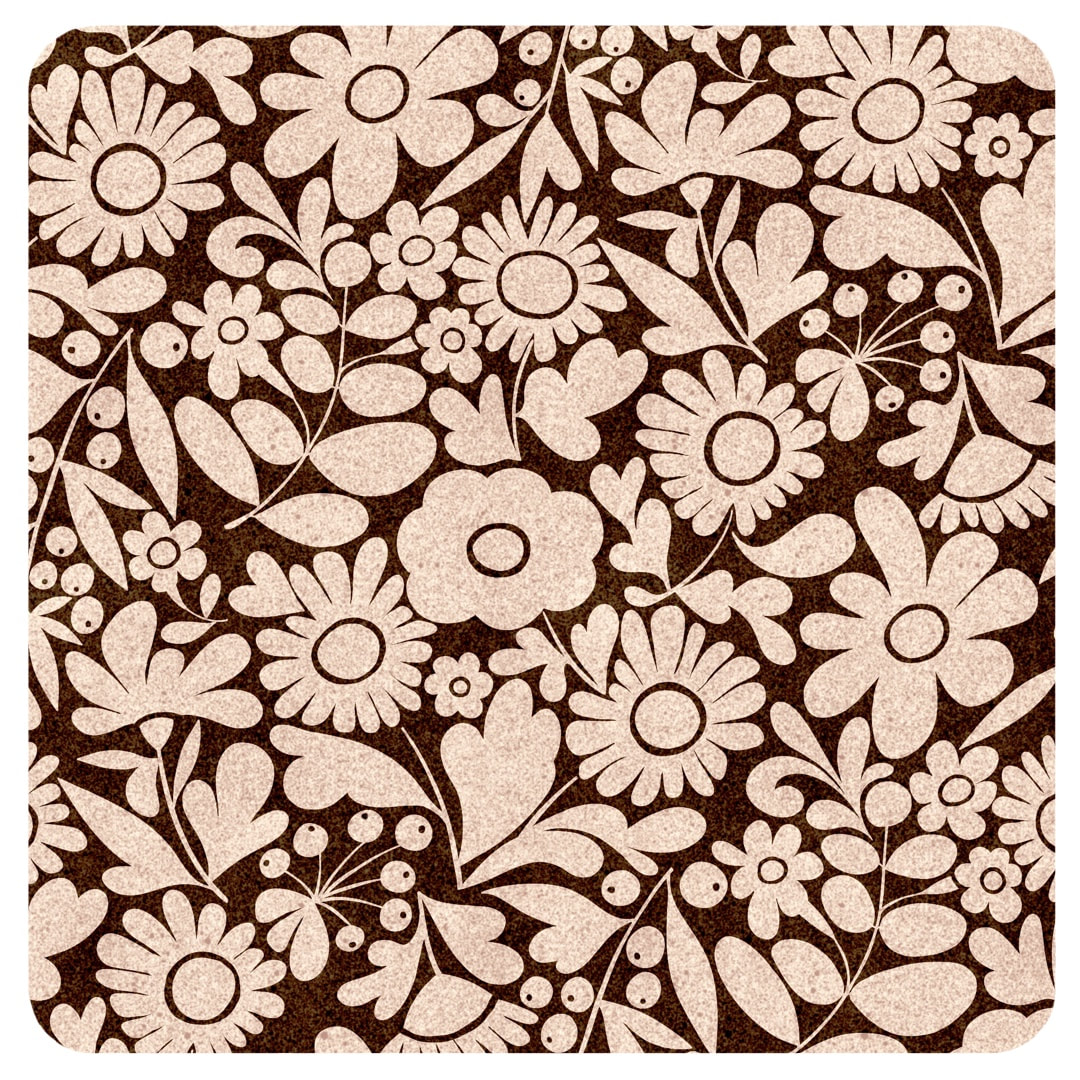 I thought I had posted an entry with the monochrome version of the vintage tie pattern when I made it, but when I went back through the archives to link to it I found I hadn't, so I have put it below. I made it in Procreate using the charm of a crayon brush, but later I made pristine versions of both the coloured and monochrome versions for printing on fabric. 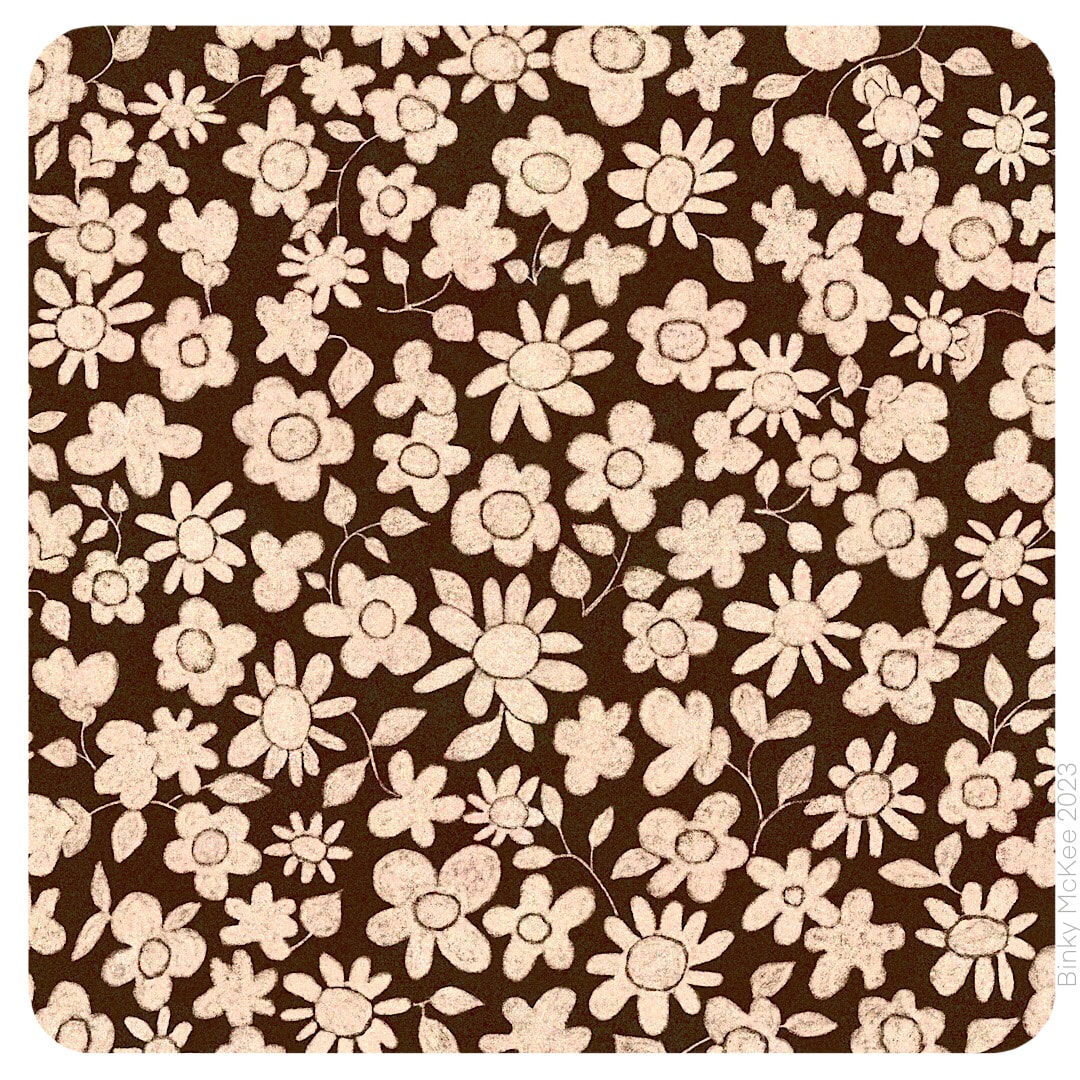 Vintage Tie Daisies, 2021 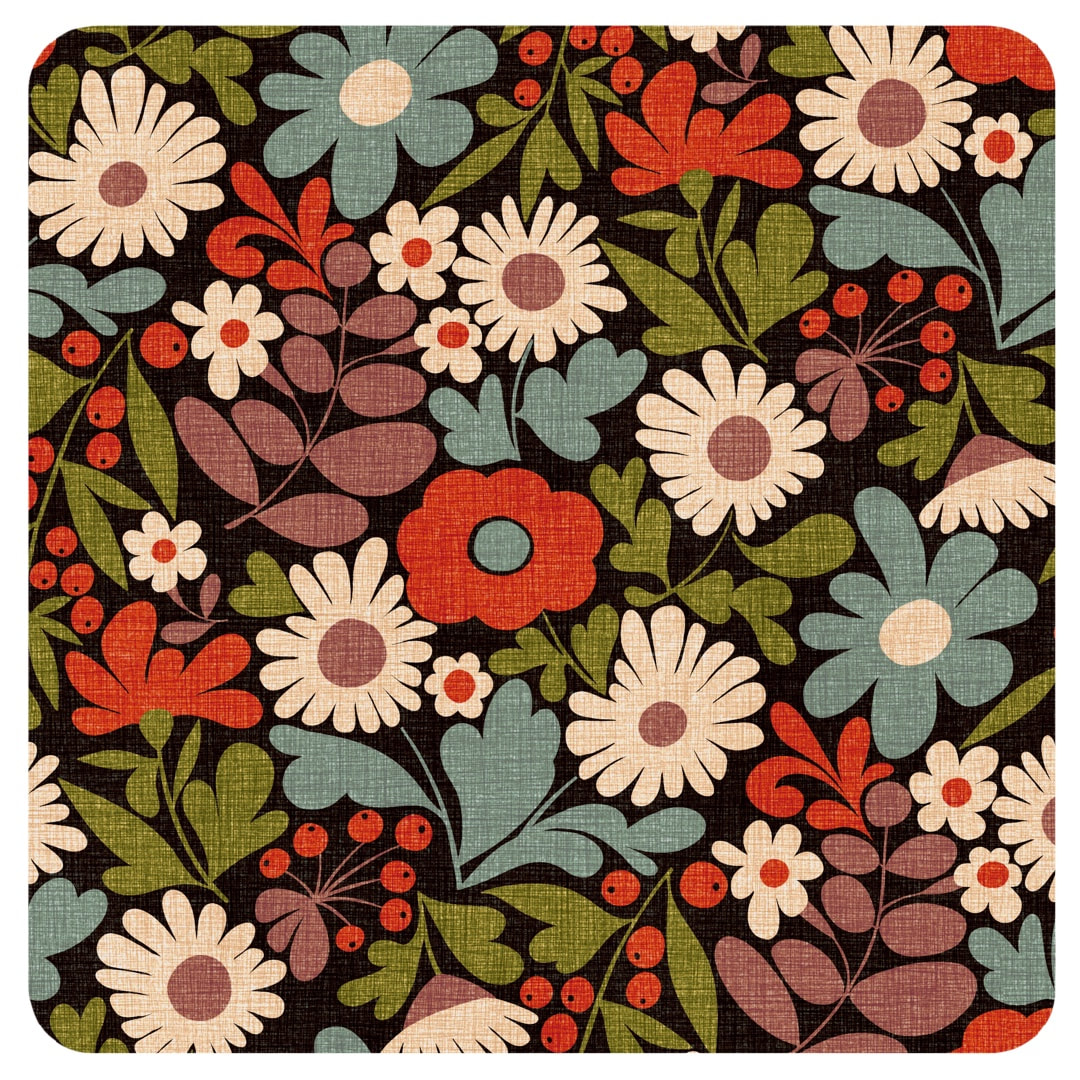 During the week I got out my Crazy Daisies pattern again to make an autumnal colour version in a speckled texture. I made a slight change to the colour separations at the same time, moving the eye of the red flower in the centre onto a different layer (blue-grey as seen here). 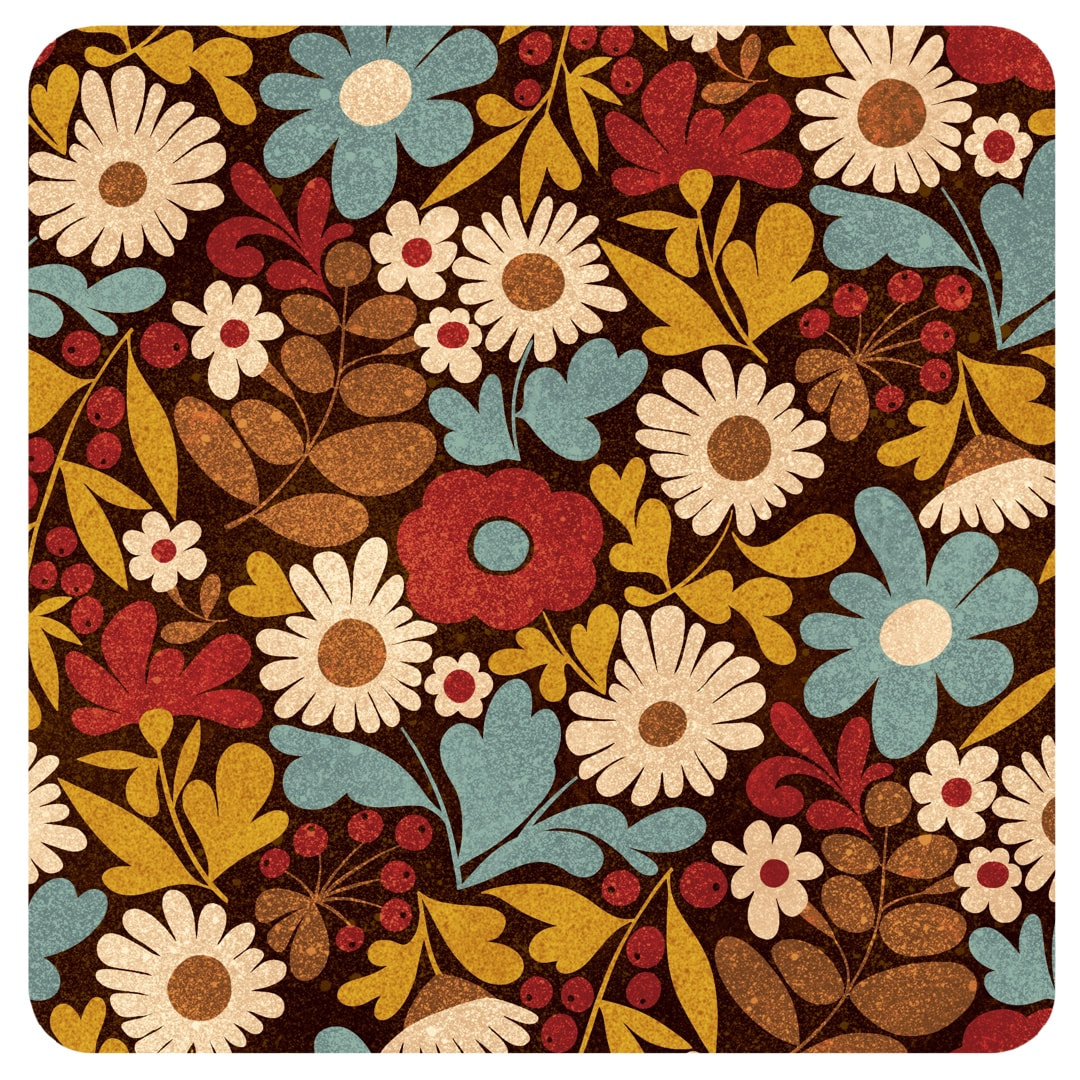 In the process, I copied each colour layer into a fresh document and spotted a missing leaf. I guess while I was designing it I must have added a leaf and forgot to put it into the repeat (no automated technology here!) I'm just amazed I didn't notice it before now. I think it pays to put work to one side for a while before examining every angle of the repeat, sometimes I'm too excited with a new design to notice flaws at the time. All versions of Crazy Daisies have now been amended. 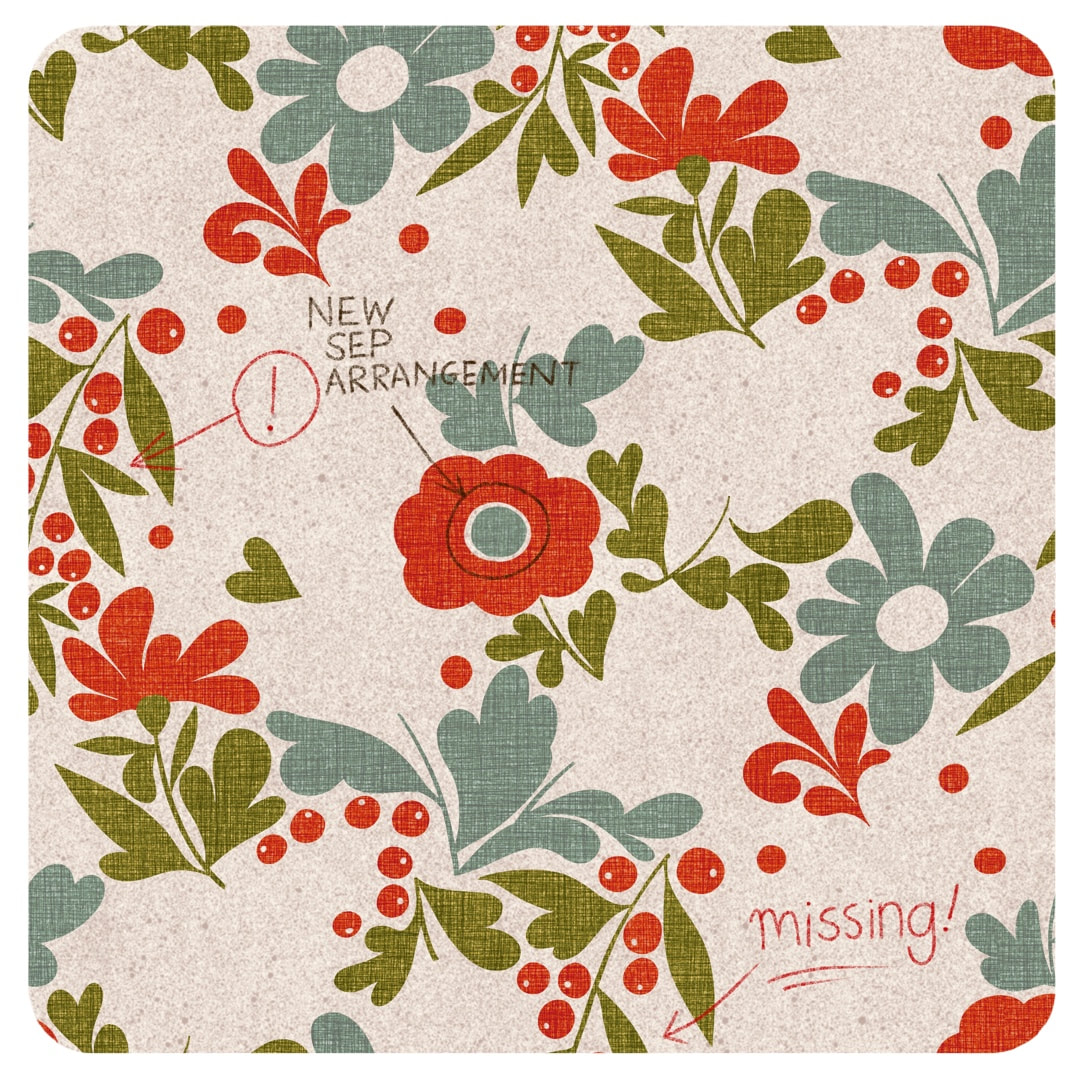 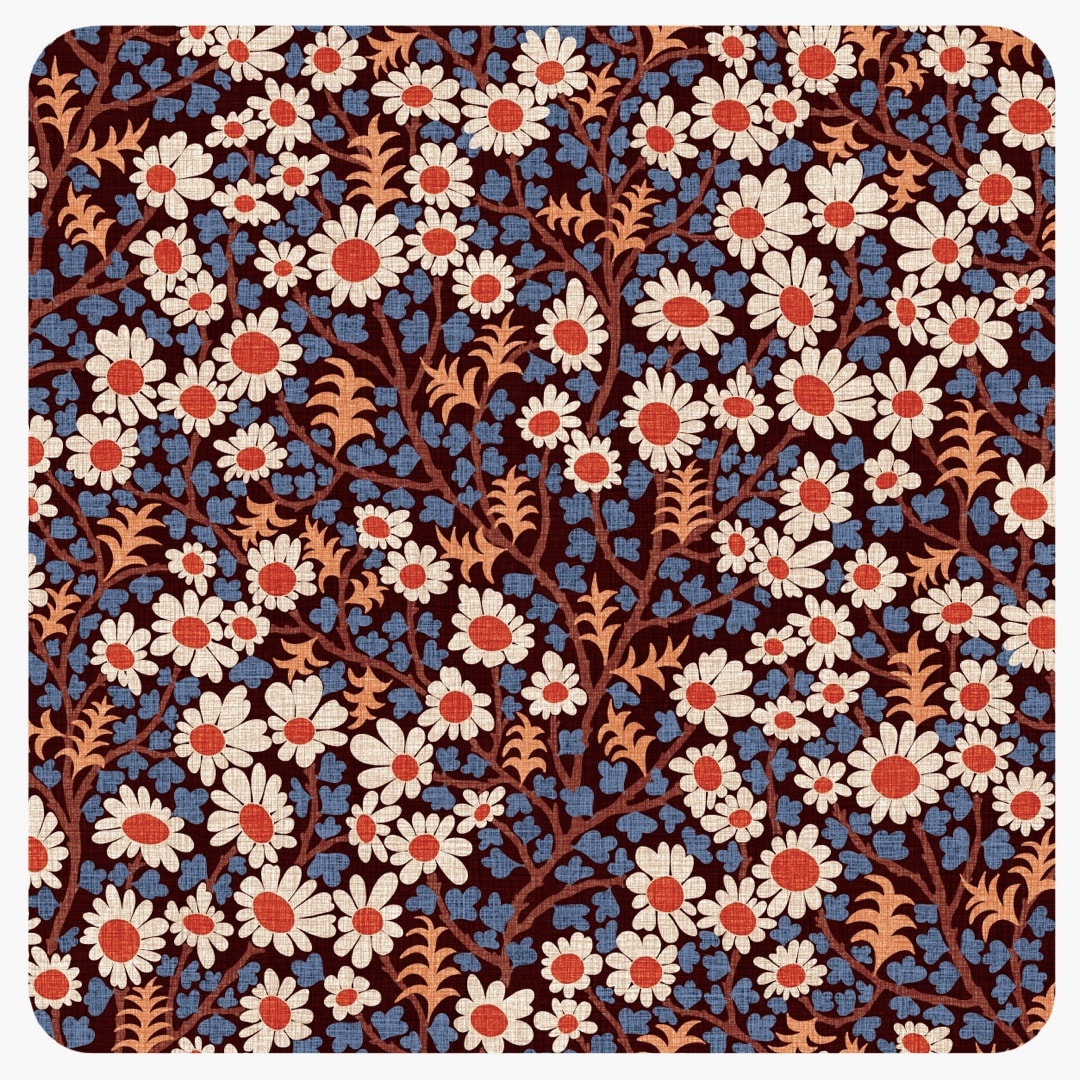 Happy with this one! Quite a few permutations on since I began with the first willow pattern, we now have the expanded blossoms together with cute rounded leaves and some spiky christmas-cactus-like shoots, shown here in two colourways. Above shows a new, smoother linen texture in Peru-inspired colours; I tweaked the colours in the version below for a pastel colourway. 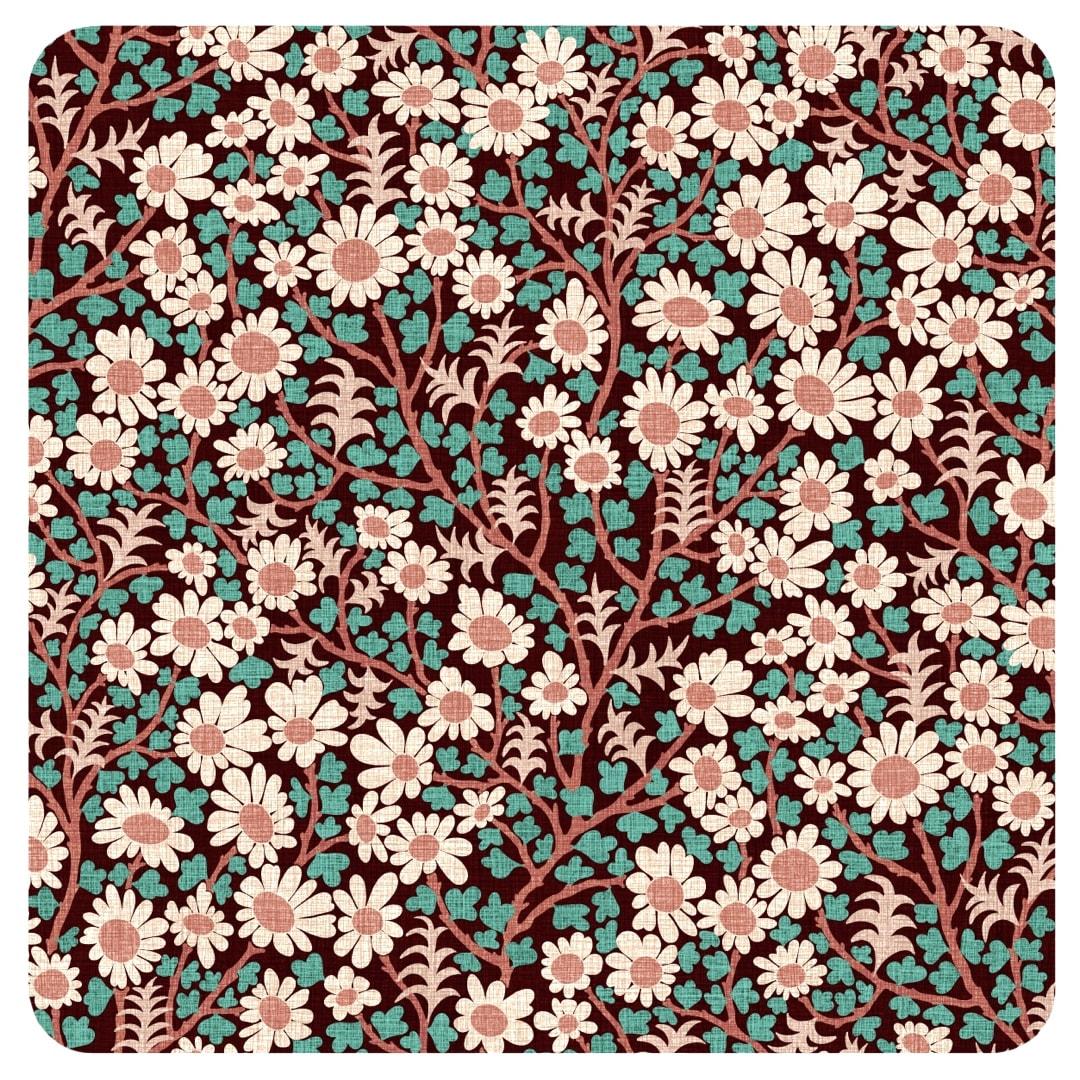 |

~~~~~~~~~~~~~~~~~~~~~~
Welcome to my illustration and patterns blog.
I illustrate under the pen-name of Binky McKee, McKee being my mother's maiden name. Binky was the name of every single cat my great-grandmother kept - allegedly about 40 of them during her 94 years of life. I changed the website address a few months ago, so some older links on previous posts are broken. If you click one of those and it takes you to a strange page, simply replace the .co.uk after the binkymckee. with weebly.com and it will work again. I hope you enjoy your visit! ~~~~~~~~~~~~~~~~~~~~~~
~~~~~~~~~~~~~~~~~~~~~~
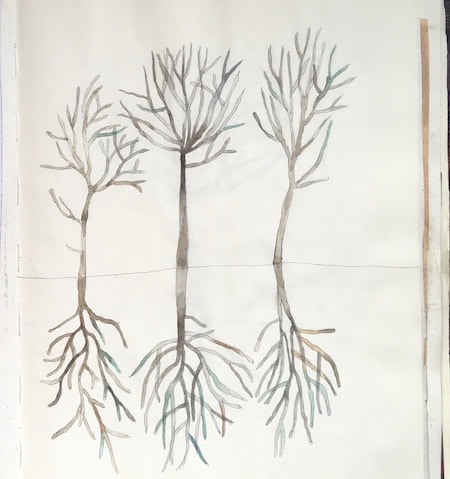
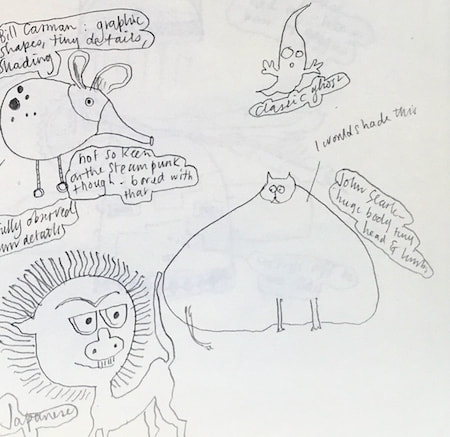
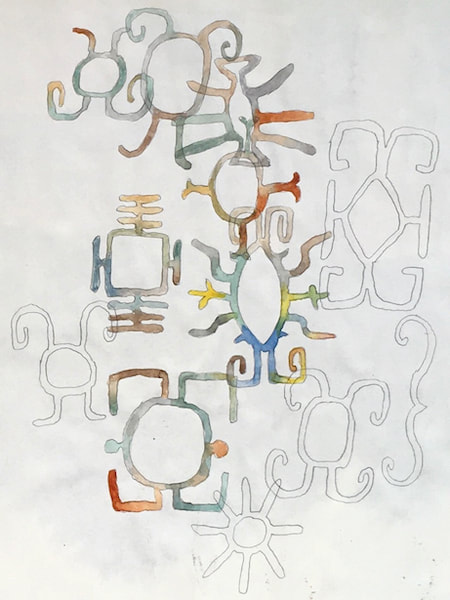
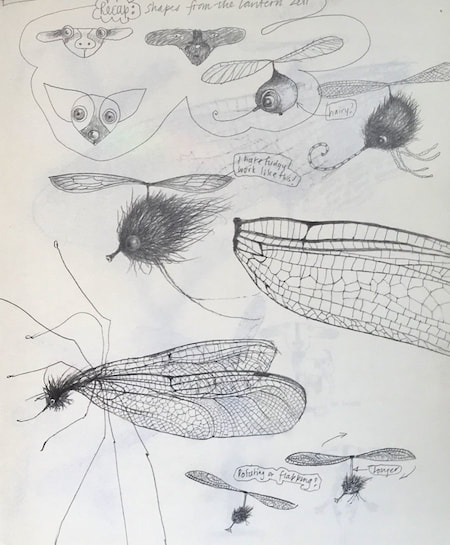
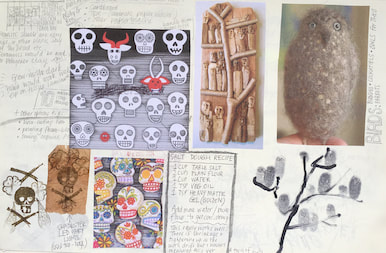
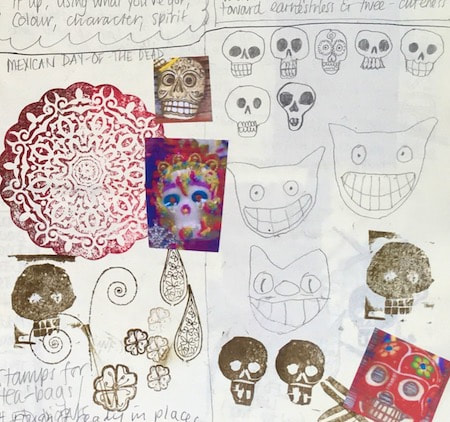
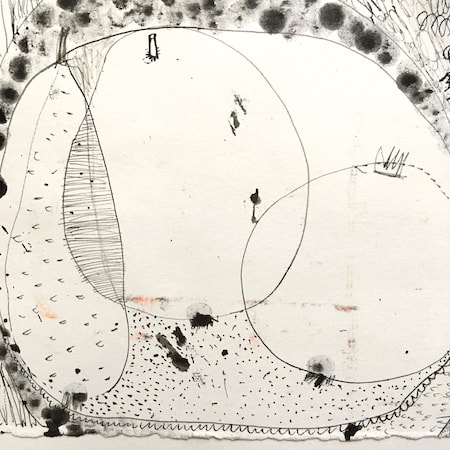
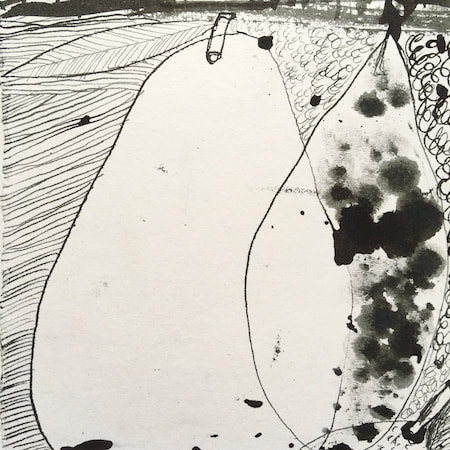
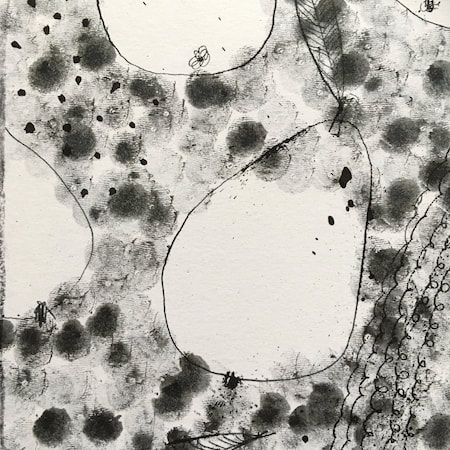
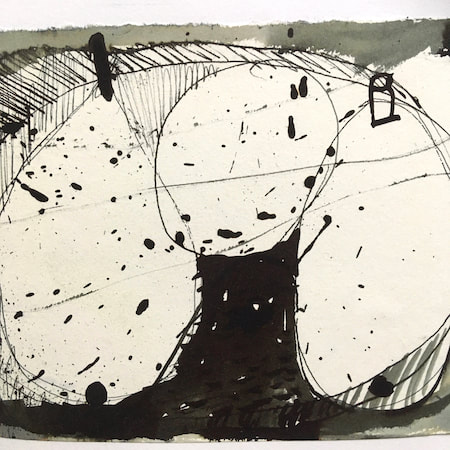
I keep lots of scrapbooks and sketchbooks where I develop ideas and design little creatures. Here's a peek inside one ...

~~~~~~~~~~~~~~~~~~~~~~
~~~~~~~~~~~~~~~~~~~~~~
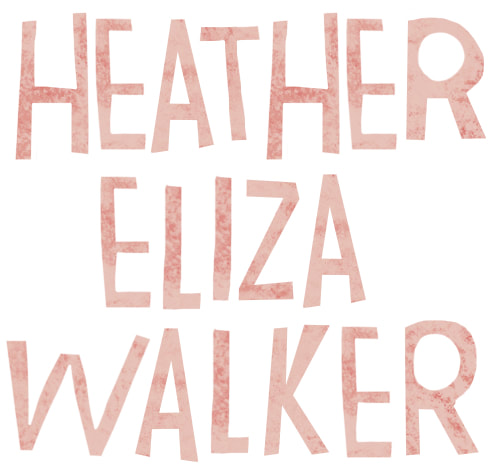
As you may know, I am also known as Heather Eliza Walker.
Click the image if you would like to find out more and visit my other website. ~~~~~~~~~~~~~~~~~~~~~~ ~~~~~~~~~~~~~~~~~~~~~
~~~~~~~~~~~~~~~~~~~~
April 2024
~~~~~~~~~~~~~~~~~~~~~~
~~~~~~~~~~~~~~~~~~
All
~~~~~~~~~~~~~~~~~~~~~~
~~~~~~~~~~~~~~~~~~~~~~
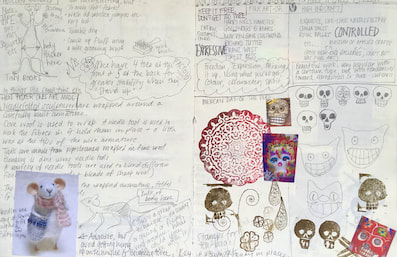
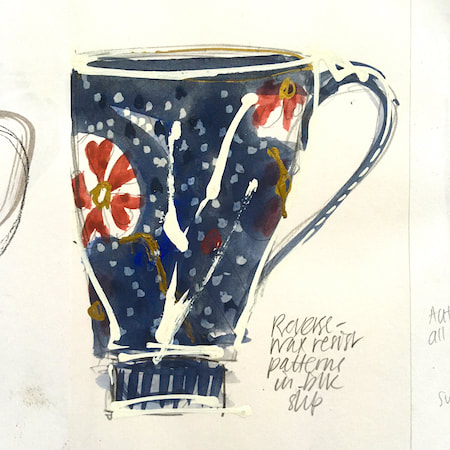
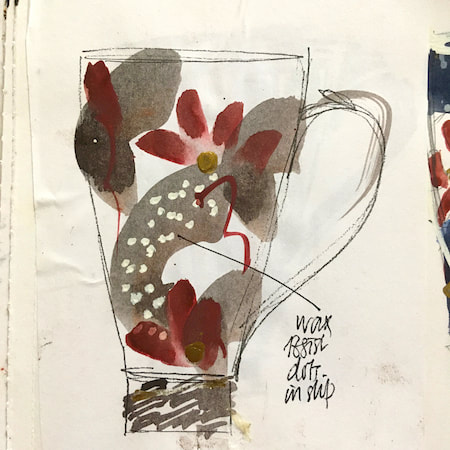
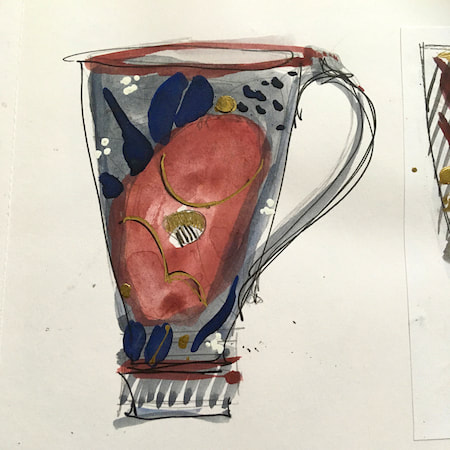
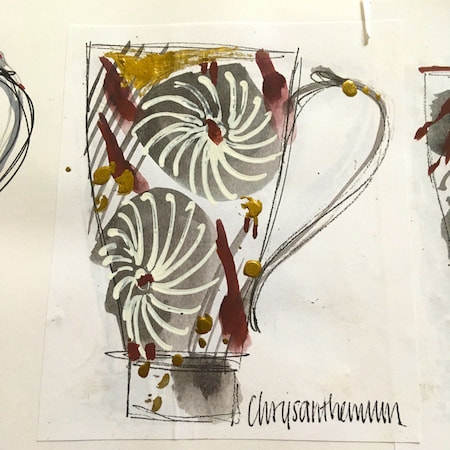
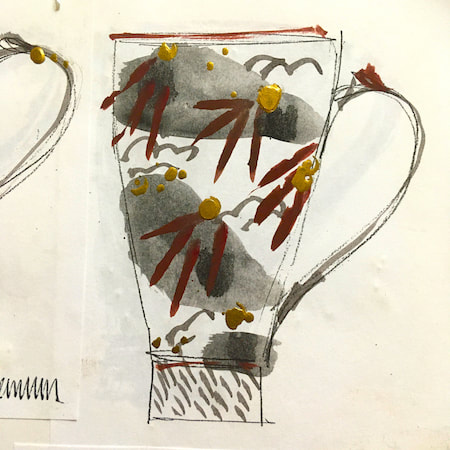
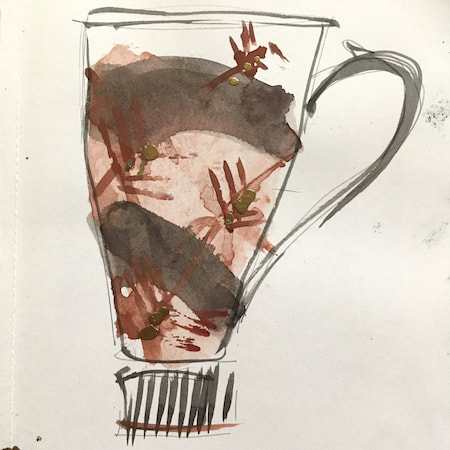
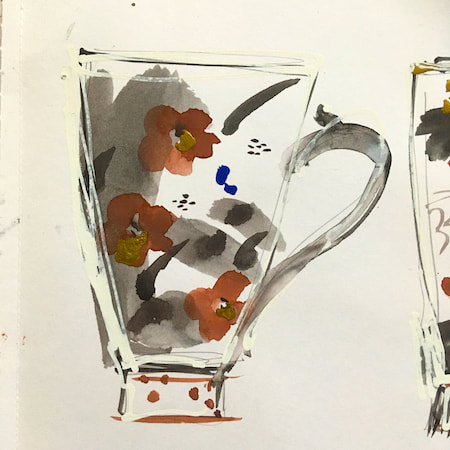
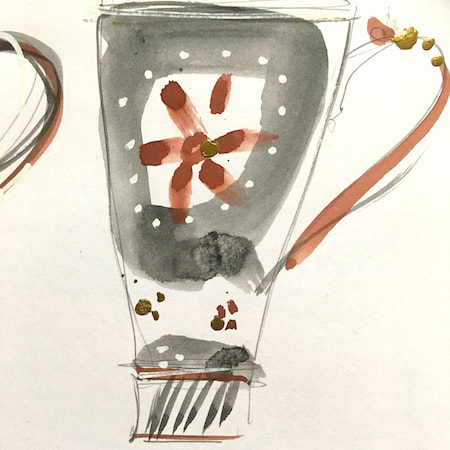
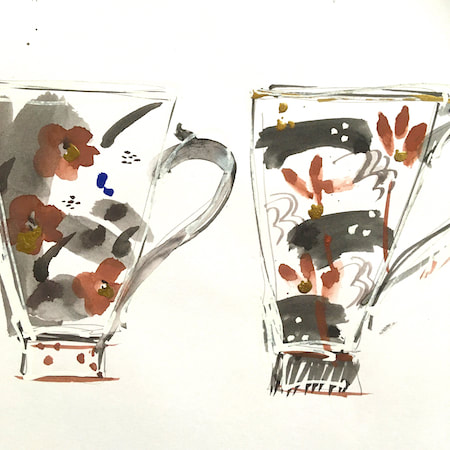
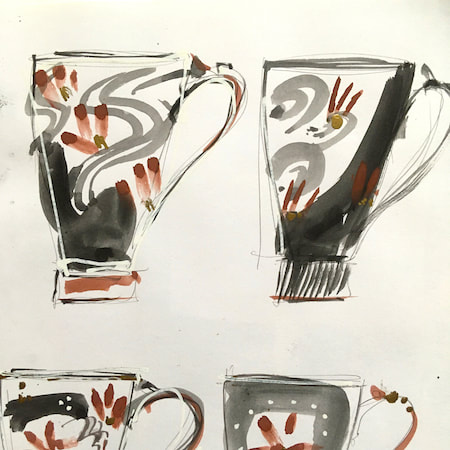
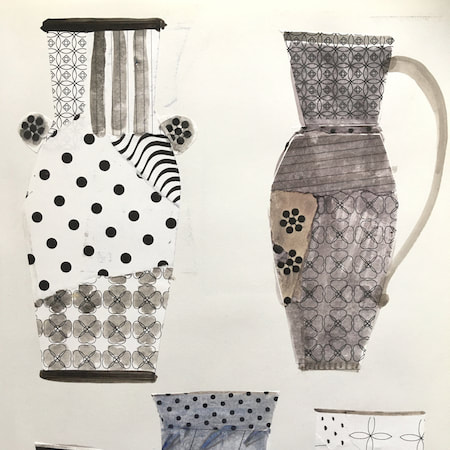
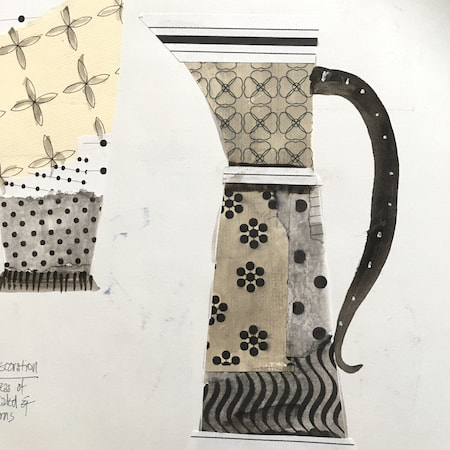
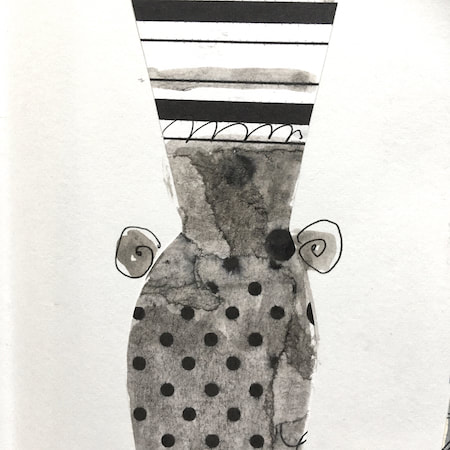
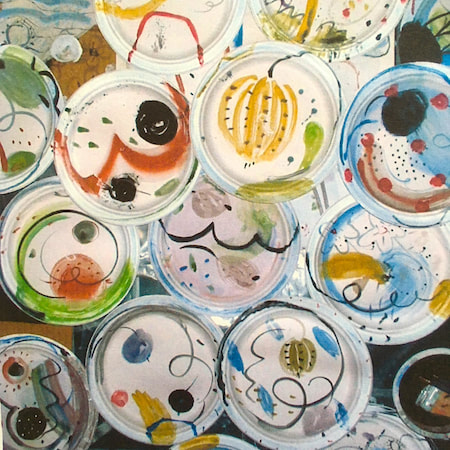
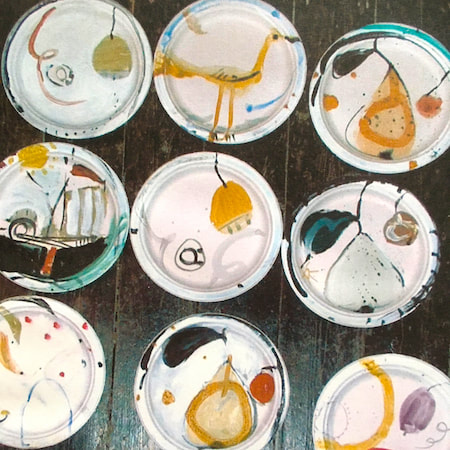
This time, take a peek into my ceramic design sketchbook. I actually made some of the mugs, but I kind of prefer the drawings! The plate designs are painted on paper plates, a most liberating process.

~~~~~~~~~~~~~~~~~~~~~~
~~~~~~~~~~~~~~~~~~~~~~
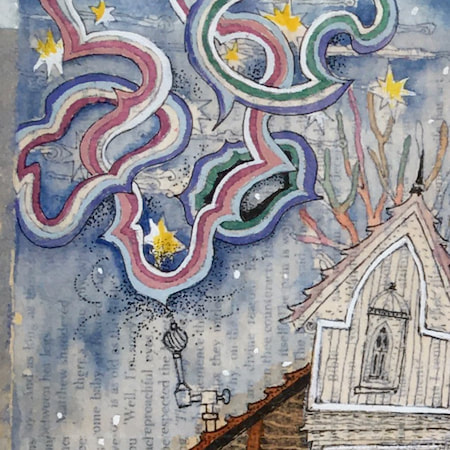
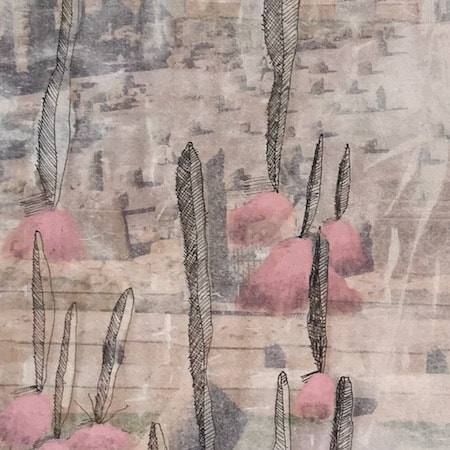
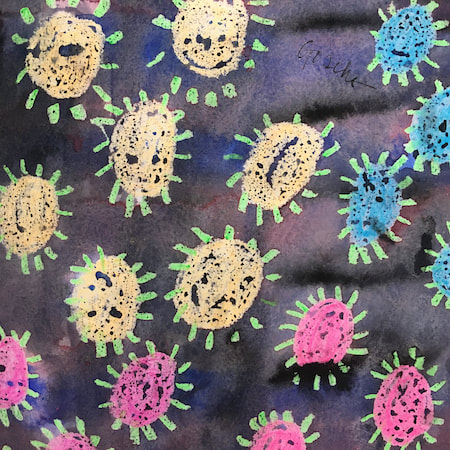
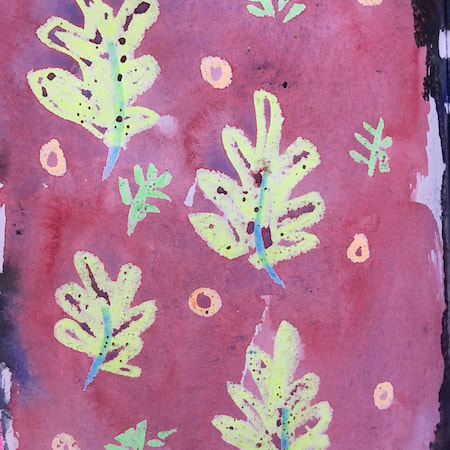
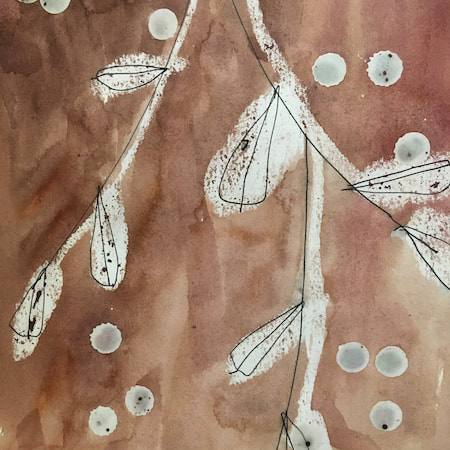
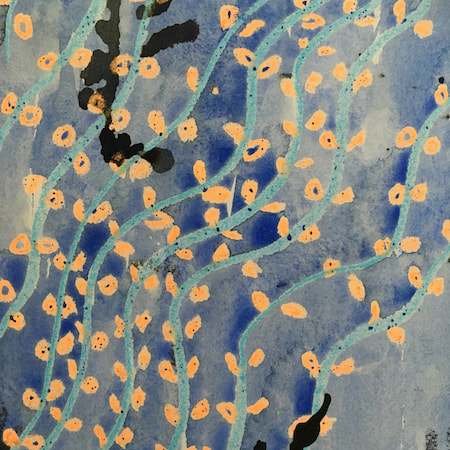
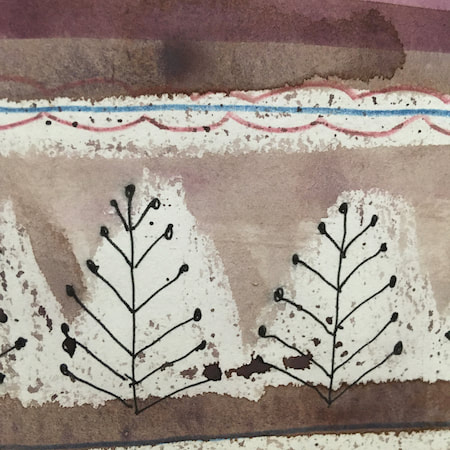
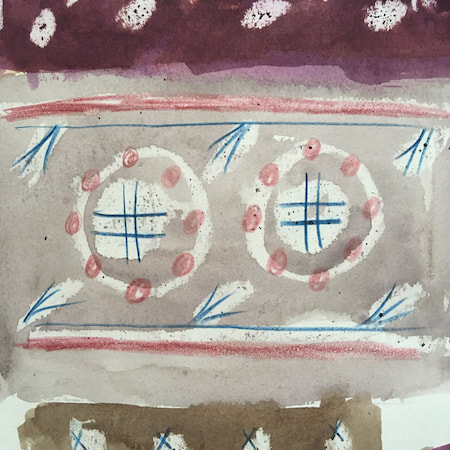
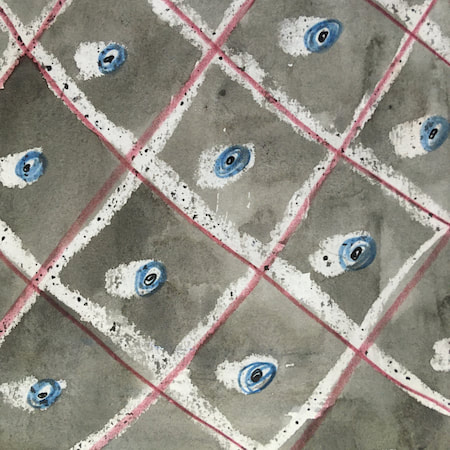
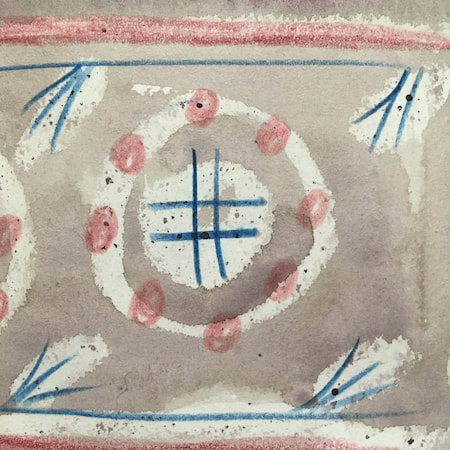
These watercolours are from my pattern sketchbook. I used coloured wax crayons to resist the washes of watercolour, also home-made rubber stamps dipped in bleach then printed on crêpe paper - the bleach takes out the paper dyes.
~~~~~~~~~~~~~~~~~~~~~~
~~~~~~~~~~~~~~~~~~~~~~
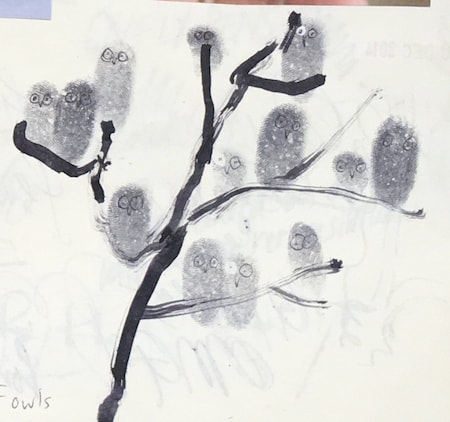
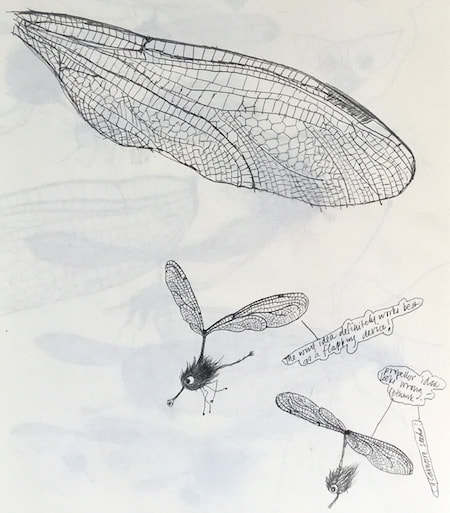
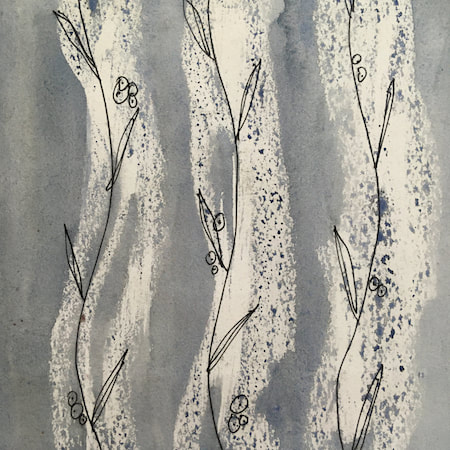
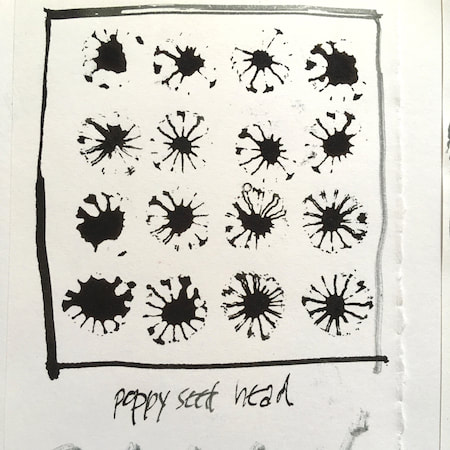
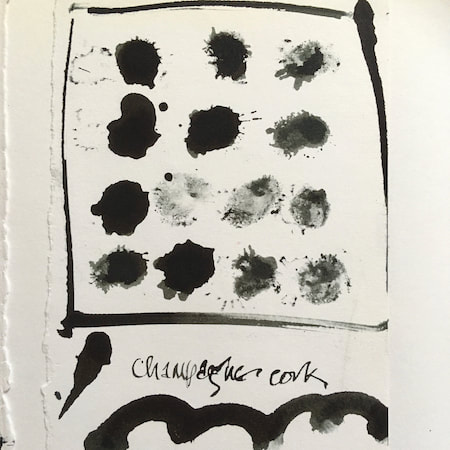
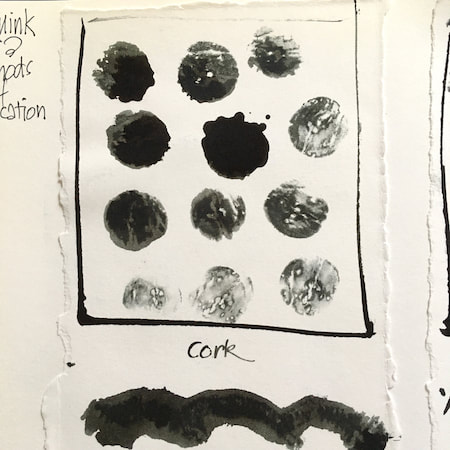
A sketchbook I used for mark-making with unusual objects - corks, seed-heads, feathers, home-made rubber stamps, my fingers and lots of flicky things ...

|
 RSS Feed
